If you ask any seasoned hardware engineer, they will tell you there are only two types of people:
- Those who have accidentally swapped TX and RX
- And those who will…

There’s even a fail badge of honor!
Despite our best efforts, mistakes can creep into hardware designs. Design specifications can change over time. Taking a hardware design from concept to production is a journey that nearly always involves iterating through multiple revisions of the PCB assembly.
In this post, we’ll walk through some of the tools that Zephyr & Golioth provide for managing multiple board revisions.
Let’s dive in and look at how you can support Rev A, Rev B, all the way to Rev X in your Zephyr firmware without losing your sanity!
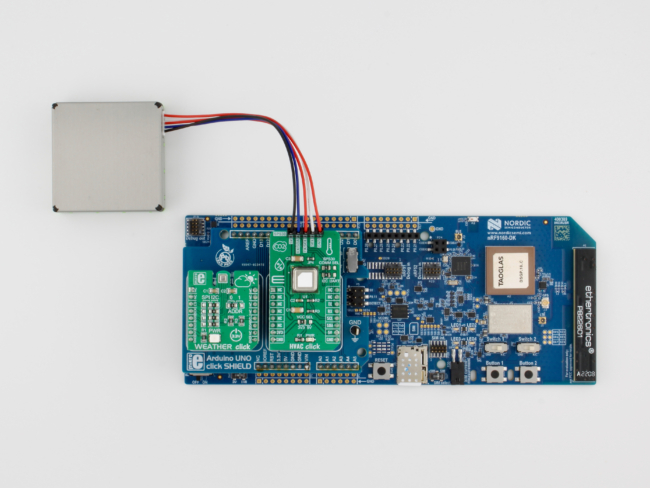
Aludel Elixir Board
Here at Golioth, Chris Gammell has been designing a new rapid prototyping board called the “Aludel Elixir“. We use this board internally for developing and testing our growing collection of reference designs, and we’re using it for live demos at Embedded World 2024.
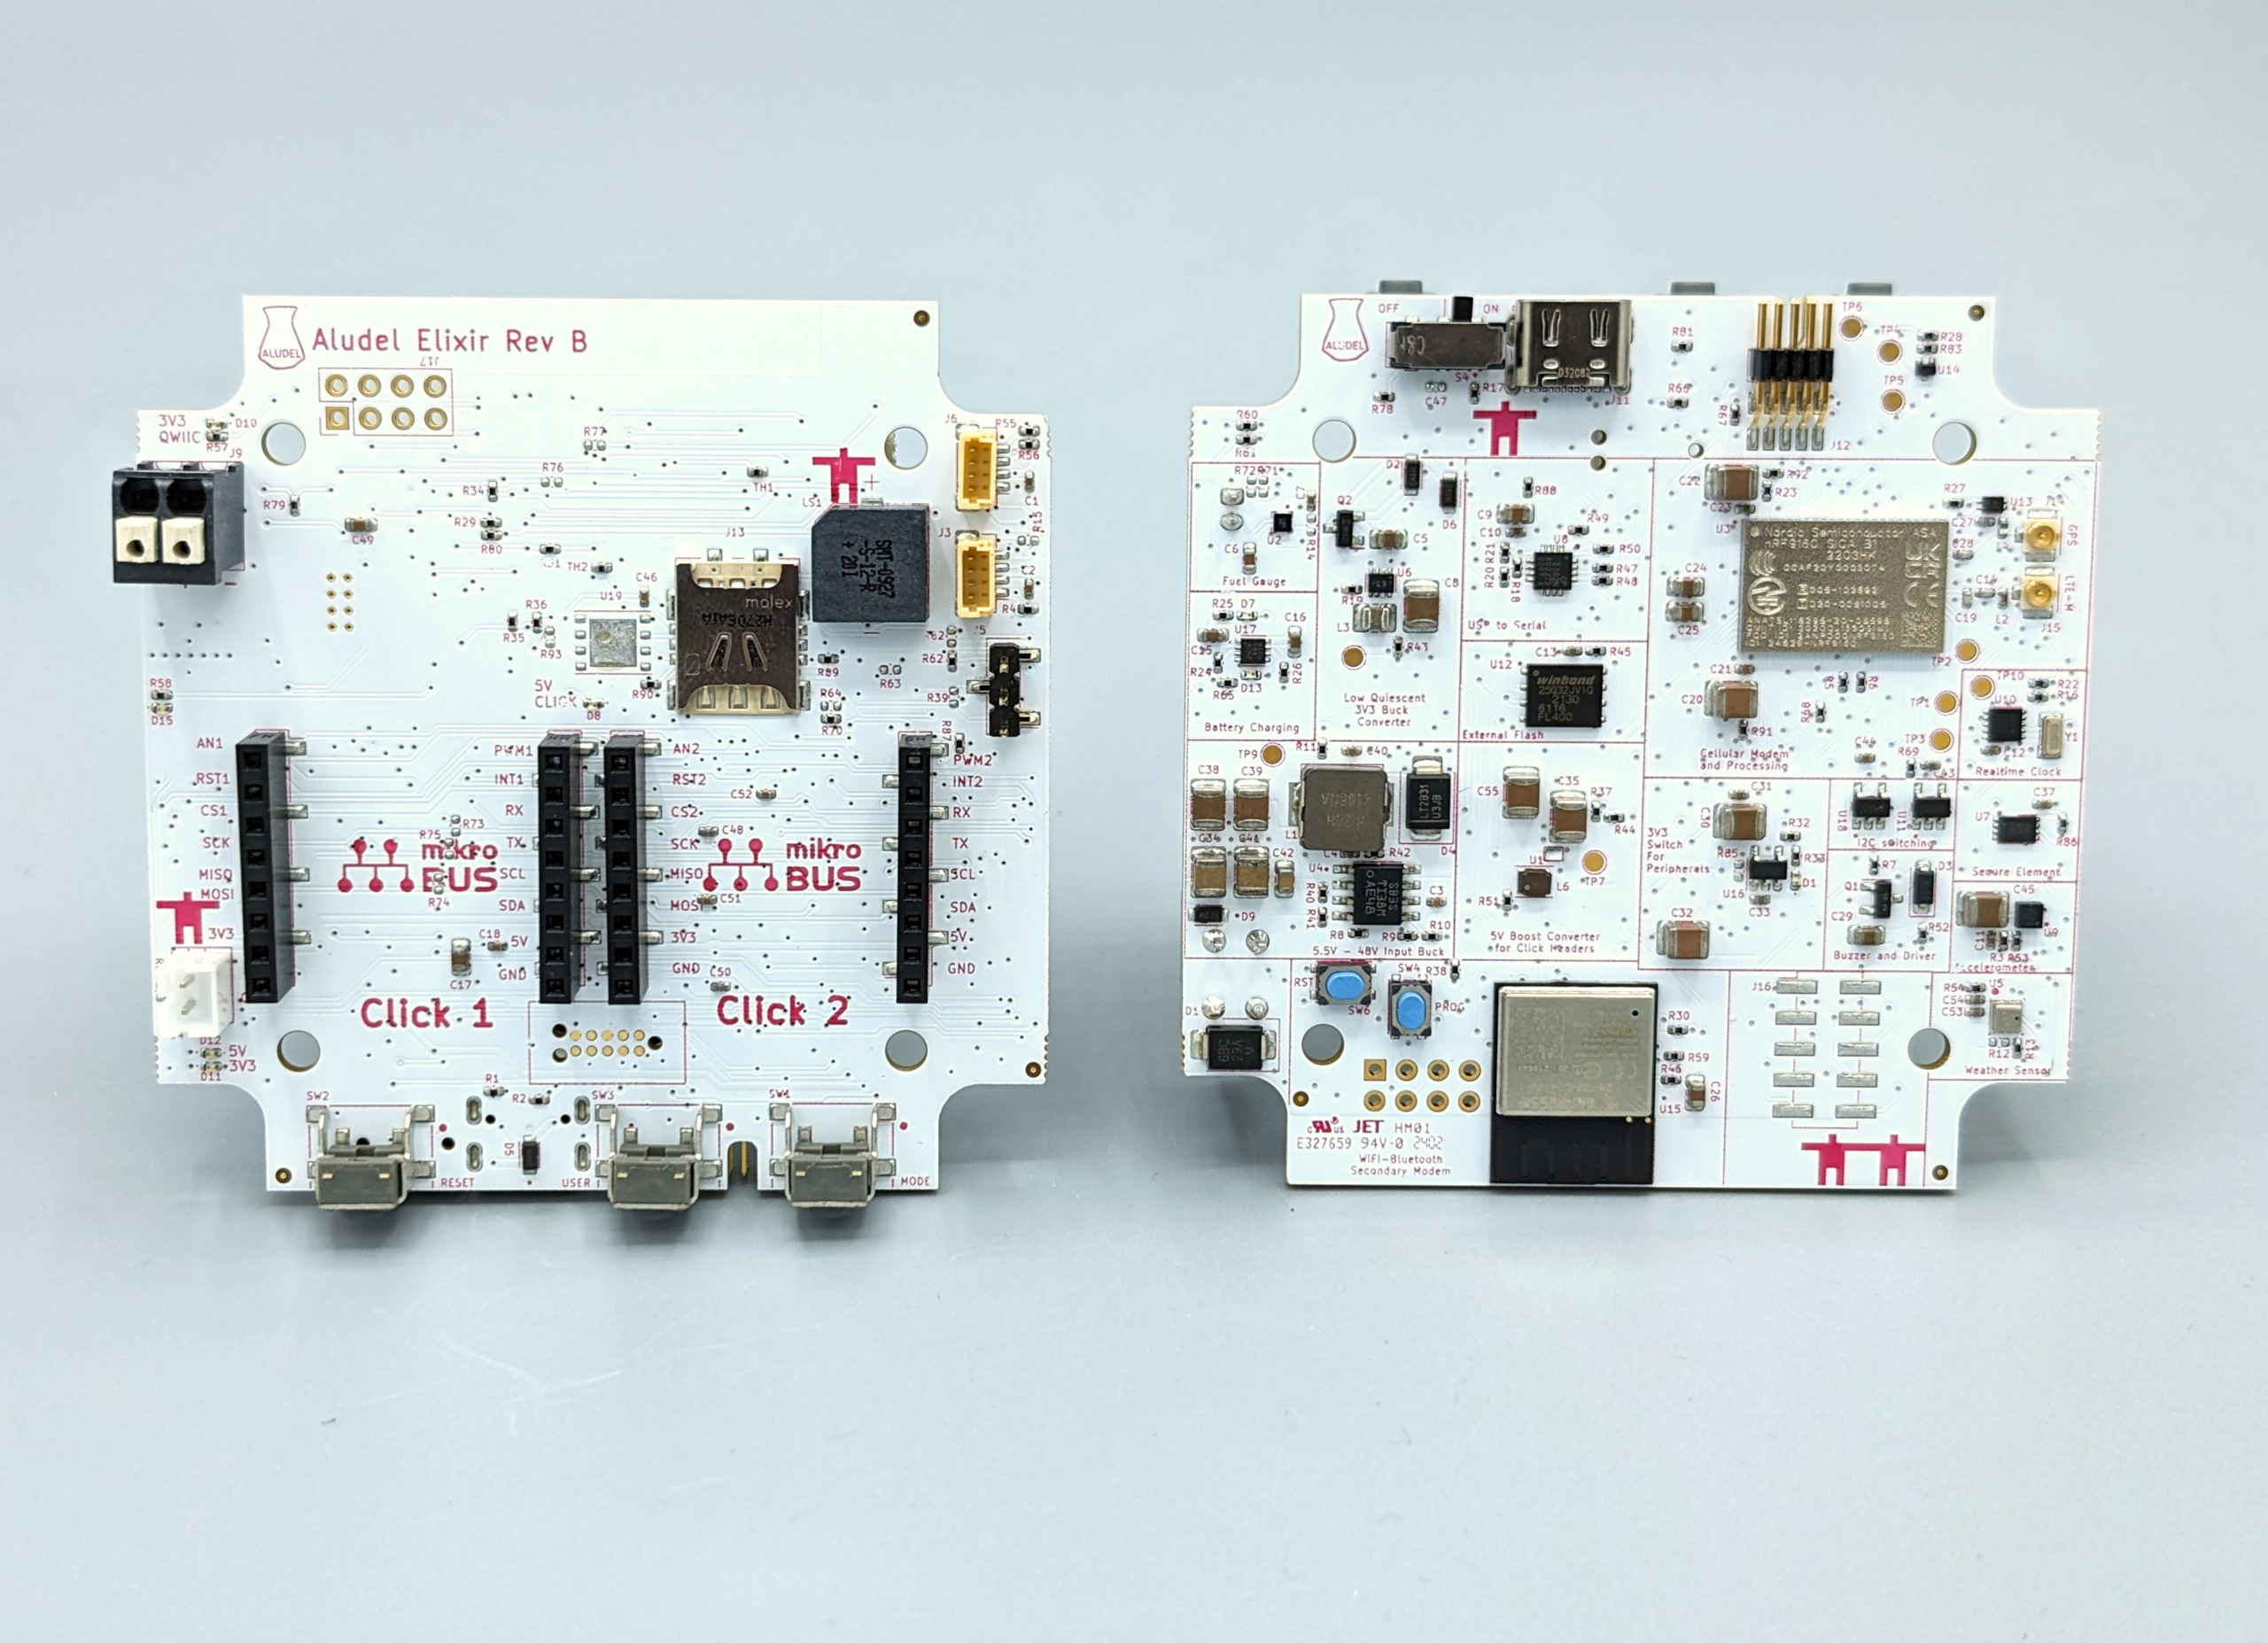
Aludel Elixir Rev B
The image above shows the 2nd hardware revision of the board (Rev B), which fixes some of the hardware issues we found when testing the 1st revision (Rev A).
Supporting the Rev B hardware requires changes to the Zephyr firmware that runs on the internal MCU in the nRF9160 SIP. However, since we have Rev A and Rev B hardware “in the wild”, we want to support building firmware for all current and future board revisions in Golioth projects—like our Reference Design Template.
Multiple board revisions in Zephyr
Fortunately, Zephyr has support for multiple board revisions as a standard part of the build system.
Building for multiple board revisions in Zephyr
Before jumping into the implementation details, it’s helpful to see how an end-user would build for a specific board revision.
We can build a Golioth Zephyr app for a specific revision of the Aludel Elixir board by simply appending a @<revision> specifier to the board name:
# Build firmware for Rev A
west build -b aludel_elixir_ns@A

# Build firmware for Rev B
west build -b aludel_elixir_ns@B

# Build firmware for the "default" revision (which is currently Rev B)
west build -b aludel_elixir_ns
Adding multiple board revisions in Zephyr
The Zephyr Board Porting Guide has a detailed section on how to add support for multiple board revisions.
When we build for a board with a revision specifier—e.g. aludel_elixir_ns@B—the build system looks for a revision.cmake file in the board directory:
boards/arm/aludel_elixir
├── ...
└── revision.cmake
Here’s the revision.cmake file for the aludel_elixir board:
board_check_revision(
  FORMAT LETTER
  EXACT
  DEFAULT_REVISION B
  VALID_REVISIONS A B
)
FORMAT LETTERtells the build system that the revision format is “Letter revision matching” (A,B,C, etc)EXACTrequires that the revision is an exact matchDEFAULT_REVISIONsets the revision to be used when no revision is specified (e.g.west build -b aludel_elixir_ns)VALID_REVISIONSdefines the set of valid revisions that can be specified
Kconfig settings for specific revisions
It’s possible to specify Kconfig symbols that are specific to a particular board revision by adding optional <board>_<revision>.conf files in the board directory. These will be merged into the board’s default Kconfig configuration.
For example, the Elixir Rev A board was accidentally built with the NB-IoT only variant of the nRF9160, which requires some Kconfig settings that only apply to the Rev A board revision.
boards/arm/aludel_elixir
├── ...
├── aludel_elixir_A.conf
└── aludel_elixir_ns_A.conf
Devicetree overlays for specific revisions
It’s also possible to describe hardware changes in devicetree that are specific to a particular board revision by adding optional <board>_<revision>.overlay files in the board directory. These will be added to the common <board>.dts devicetree file.
For example, the Elixir Rev A board connects the spi2 peripheral to the mikroBUS socket headers, while the Rev B board connects the spi3 peripheral instead. We added devicetree overlay files for each board revision that specify the correct SPI peripheral to use:
boards/arm/aludel_elixir
├── ...
├── aludel_elixir_A.overlay
├── aludel_elixir_ns_A.overlay
├── aludel_elixir_B.overlay
└── aludel_elixir_ns_B.overlay
Distributing board definitions as a Zephyr Module
The golioth-zephyr-boards repo stores the Zephyr board definitions for the Aludel Elixir board revisions, allowing us to use them across multiple Zephyr projects as a Zephyr Module.
For example, here’s how it’s included in our Reference Design Template app via the west.yml manifest:
- name: golioth-zephyr-boards
  path: deps/modules/lib/golioth-boards
  revision: v1.1.1
  url: https://github.com/golioth/golioth-zephyr-boards
Note that it’s also possible to add application-specific Kconfig and devicetree overlay files for each board revision:
<app>/boards/
├── ...
├── aludel_elixir_ns_A.conf
├── aludel_elixir_ns_A.overlay
├── aludel_elixir_ns_B.conf
└── aludel_elixir_ns_B.overlay
If you leave off the @<revision> specifier, these will be applied to all revisions of the board:
<app>/boards/
├── ...
├── aludel_elixir_ns.conf
└── aludel_elixir_ns.overlay
Golioth Blueprints
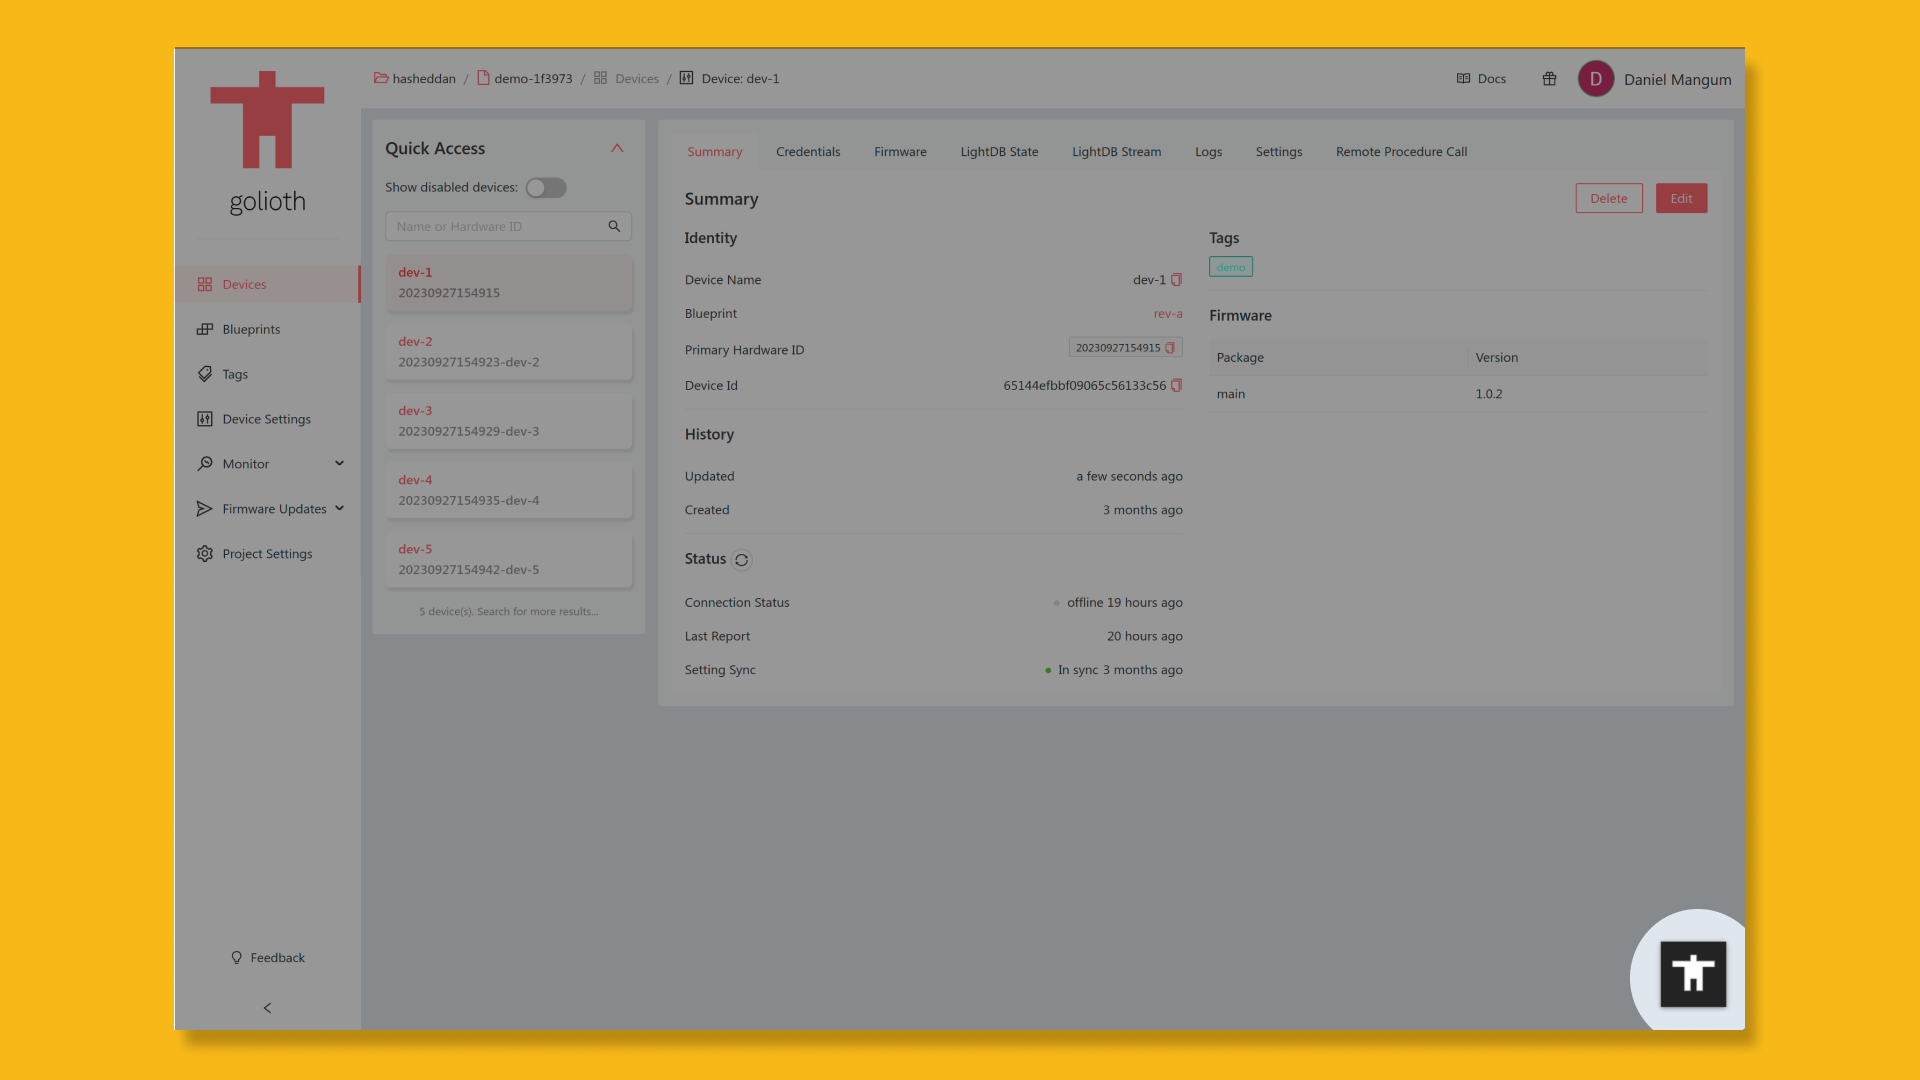
In a real-world IoT deployment, it’s likely that a fleet of devices will have multiple hardware revisions deployed simultaneously. Golioth provides support for managing different hardware revisions through a concept called “Blueprints“.
Blueprints are a flexible way to segment devices based on variations in hardware characteristics, such as the board revision. For example, when creating a new over-the-air (OTA) firmware release in the Golioth console, a blueprint can be specified to limit the scope of the release to only Rev A hardware devices.
If you’d like a step-by-step introduction to deploying a fleet of IoT devices with Zephyr and Golioth, we’d love to have you join us for a free Zephyr developer training. Our next session is just two weeks away. Sign up now!