Golioth is expanding its Reference Design portfolio by adding an OpenThread Demo, a Reference Design based on our known and well-tested Reference Design Template. The purpose of the OpenThread Demo is to add Thread networking capability to the RD Template so anyone using Thread and Golioth can start development immediately, use it as a basis for their project, and take full advantage of Golioth’s Device Management, Data Routing, and Application Service capabilities.
Thread Recap
Thread is an IPv6-based networking protocol designed for low-power Internet of Things devices. It uses the IEEE 802.15.4 mesh network as the foundation for providing reliable message transmission between individual Thread Devices at the link level. The 6LoWPAN network layer sits on top of 802.15.4, created to apply Internet Protocol (IP) to smaller devices. In almost all cases, it’s used to transmit IPv6 Packets.
If you need a network of devices that can communicate with each other and connect to the Internet securely, Thread might be the solution you’re looking for.
Built it yourself
The follow-along guide shows how to build your own OpenThread Demo using widely available off-the-shelf components from our partners. We call this Follow-Along Hardware, and we think it’s one of the quickest and easiest ways to start building an IoT proof-of-concept with Golioth.
Hardware
Every mesh network needs some hardware, and for the OpenThread Demo, you will need a Thread Border Router and a Thread node. This demo doesn’t need additional sensors or an actuator, as there are generated values created by the code in the Reference Design Template (ie simulated values). Later you can modify our other Reference Designs and their hardware to get to a prototype or production device that is more specific to a vertical like Air Quality Monitoring or DC Power Monitoring.
Border Router
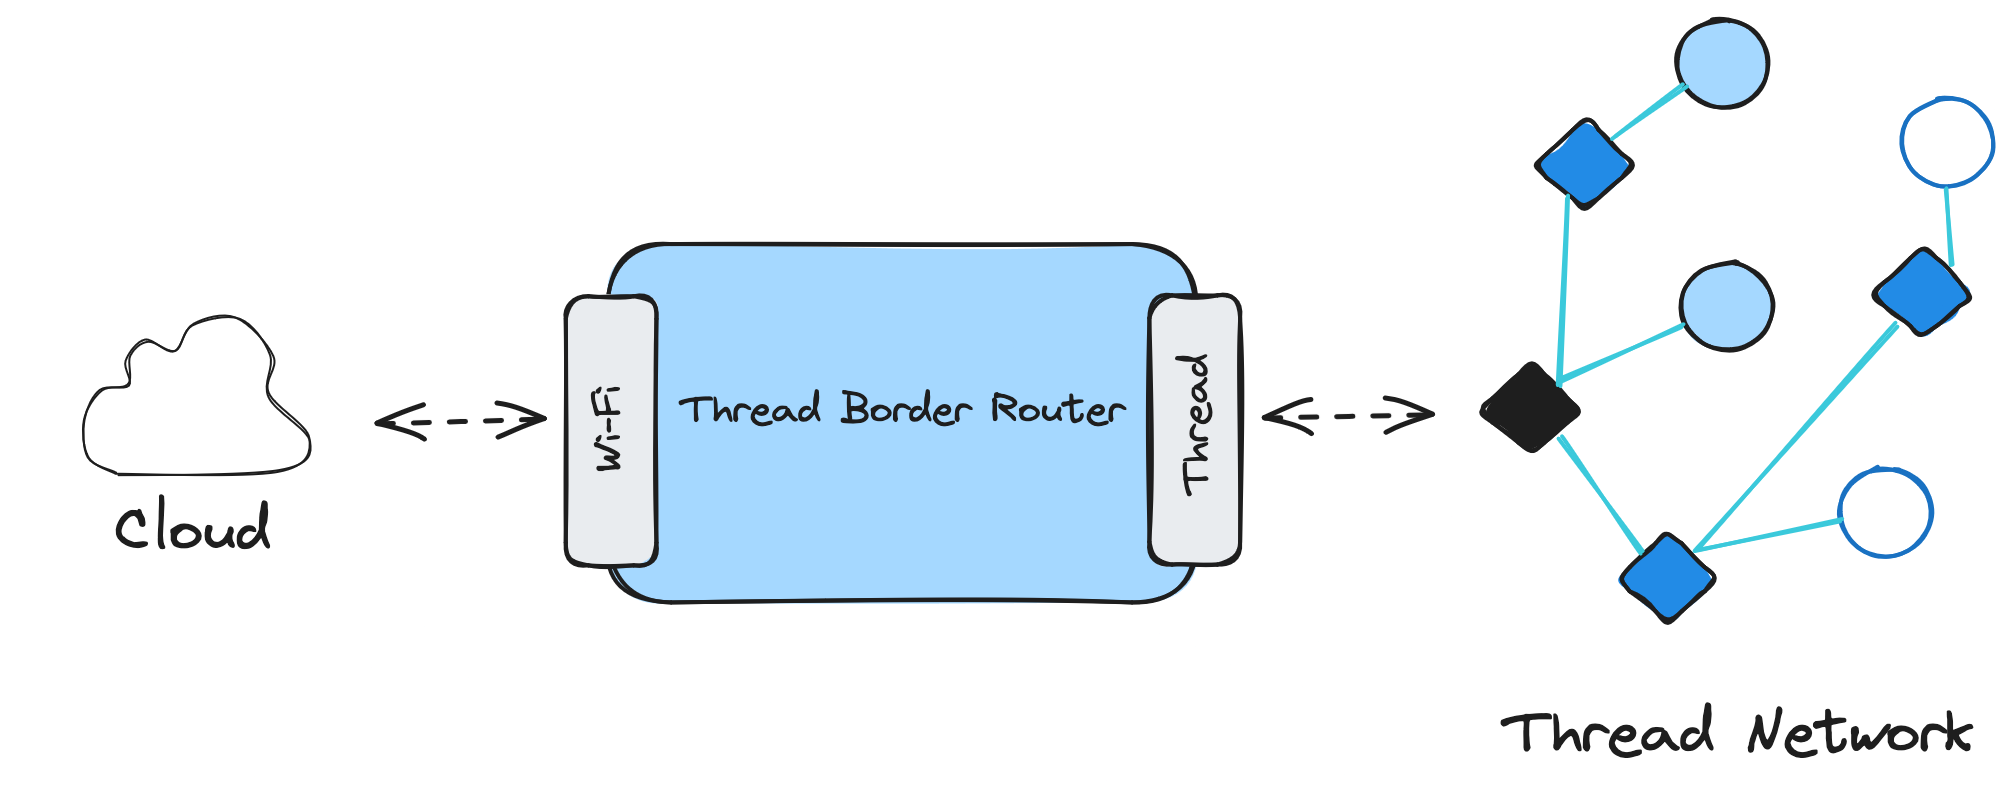
A Thread Border Router connects a Thread network to other IP-based networks, such as Wi-Fi or Ethernet, and it configures a Thread network for external connectivity. It also forwards information between a Thread network and a non-Thread network (from Thread nodes to the Internet). The Border Router should be completely invisible to Thread Devices, much like a Wi-Fi router is in a home or corporate network.
In this demo, we use a commercially available GL-S200 Thread Border Router designed for users to host and manage low-power and reliable IoT mesh networks.
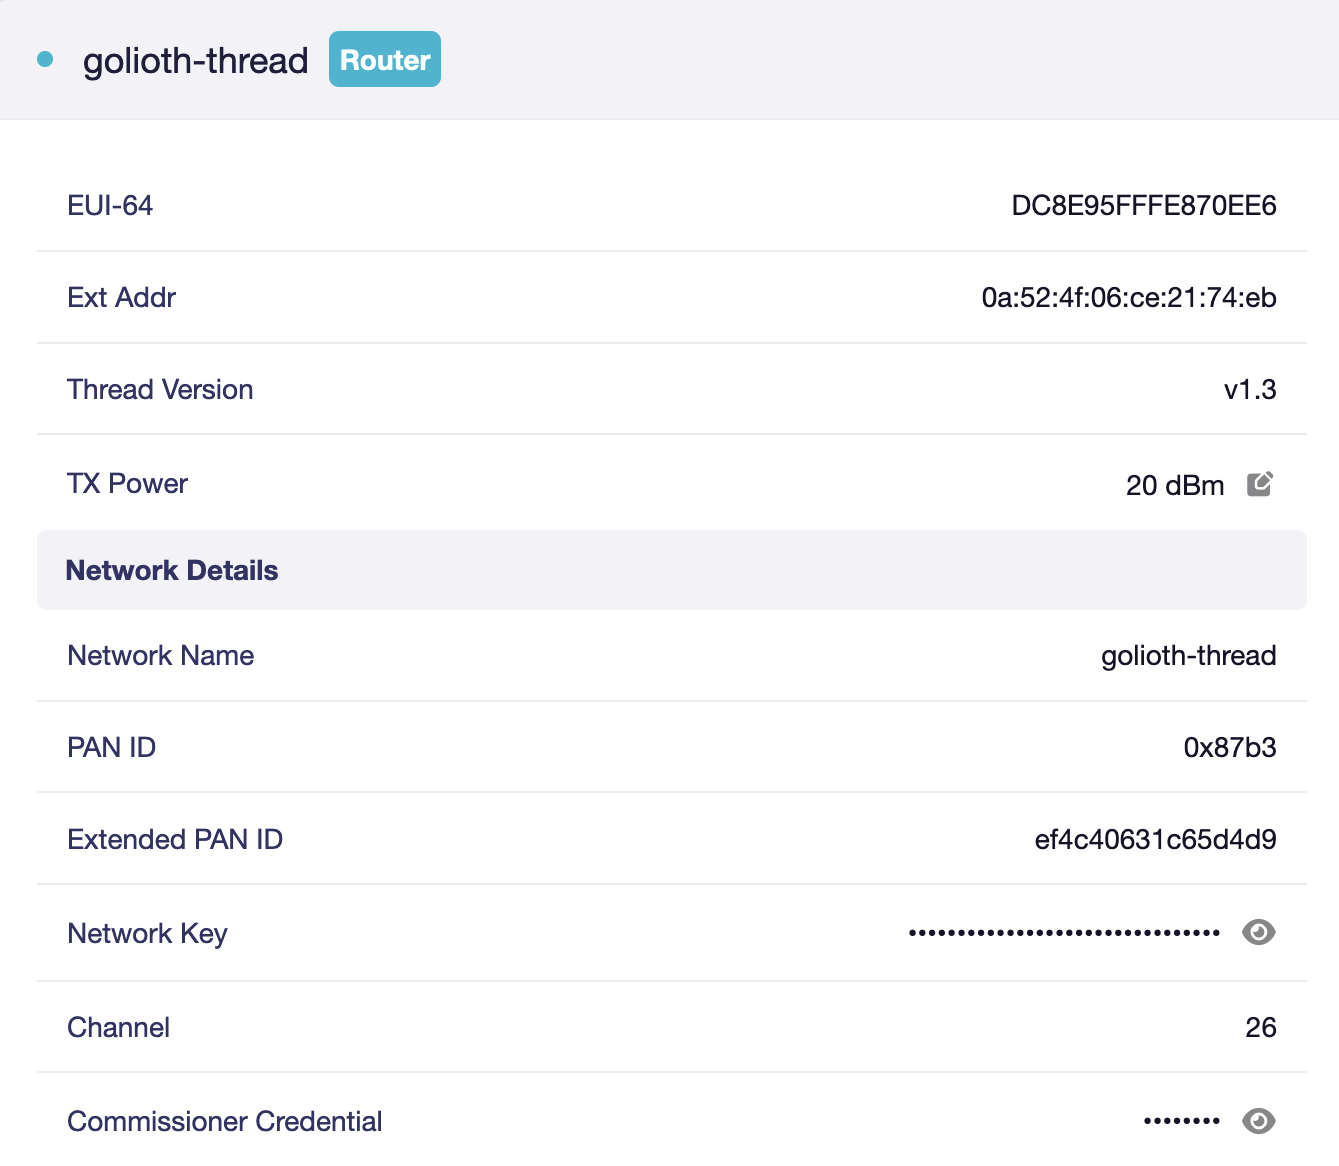
GL-S200 provides a simple Admin Panel UI to configure the Border Router and a Topology Graph to see all the end node devices and their relationship. As a bonus, it also does NAT64 translation between IPv6 and IPv4, making it a real plug-and-play solution.
Thread Node
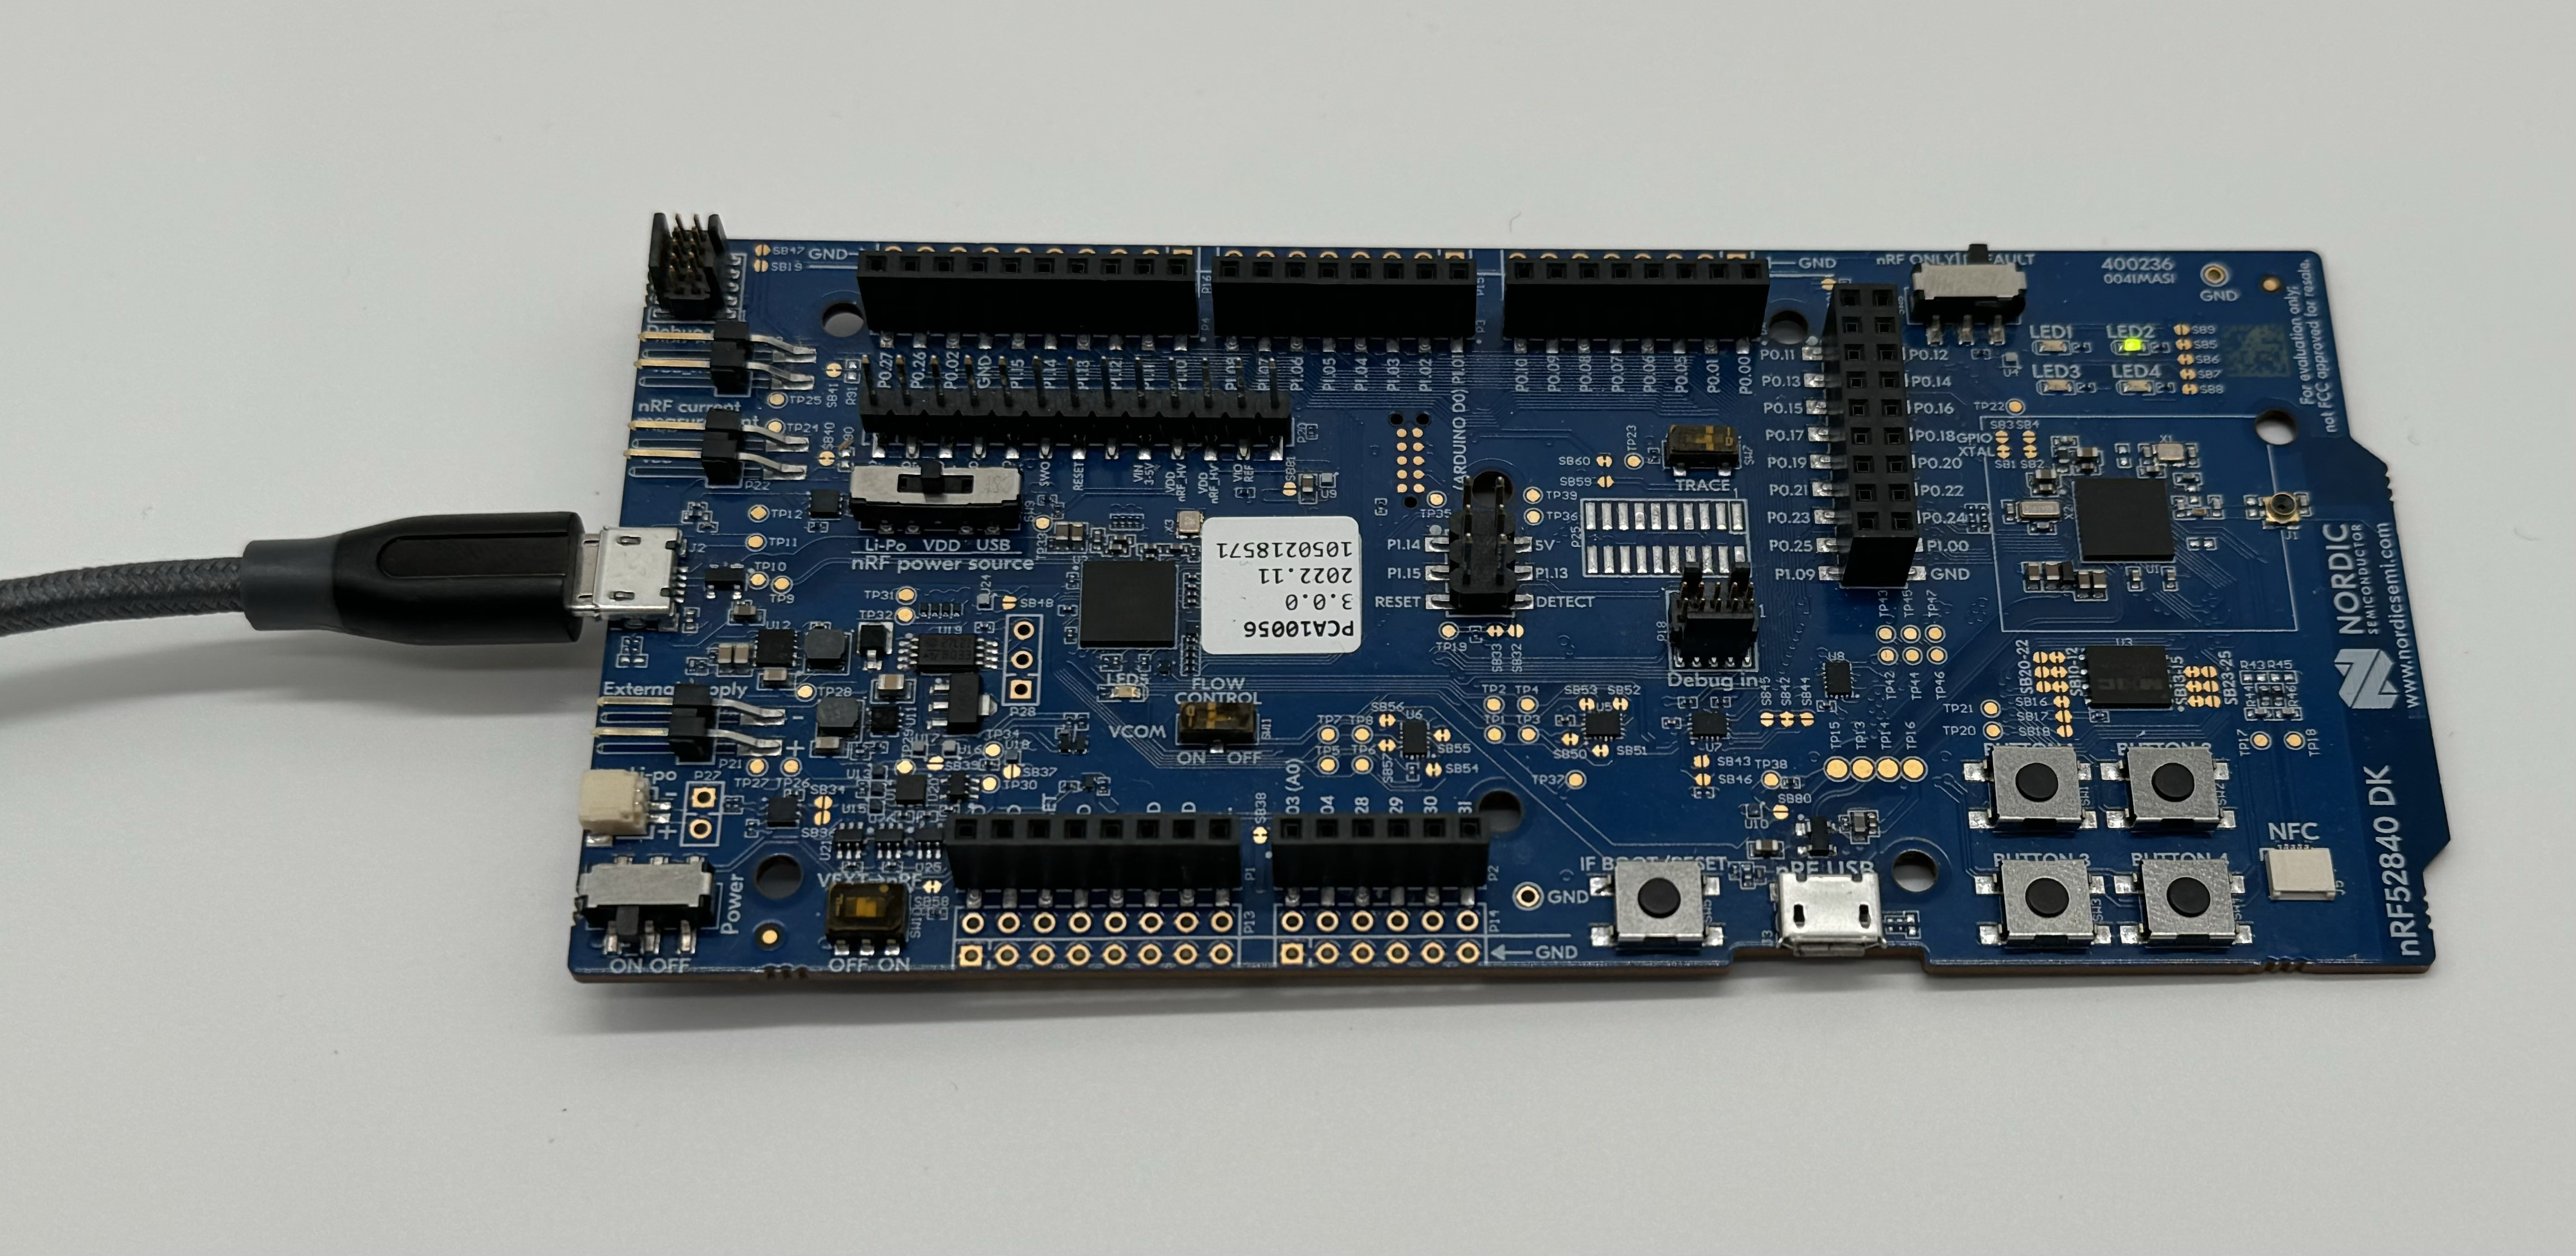
Now that the centerpiece of our Thread network is sorted, the next part is a Thread node. In the follow-along guide, we built a Thread node based on the nRF52840 DK. The node is built using Zephyr, and the OpenThread stack will be compiled into it. The GitHub repository used in the guide is open source, so you can build the application yourself, or you can use the pre-built images for the nRF52840 DK or Adafruit Feather nRF52840.
Firmware
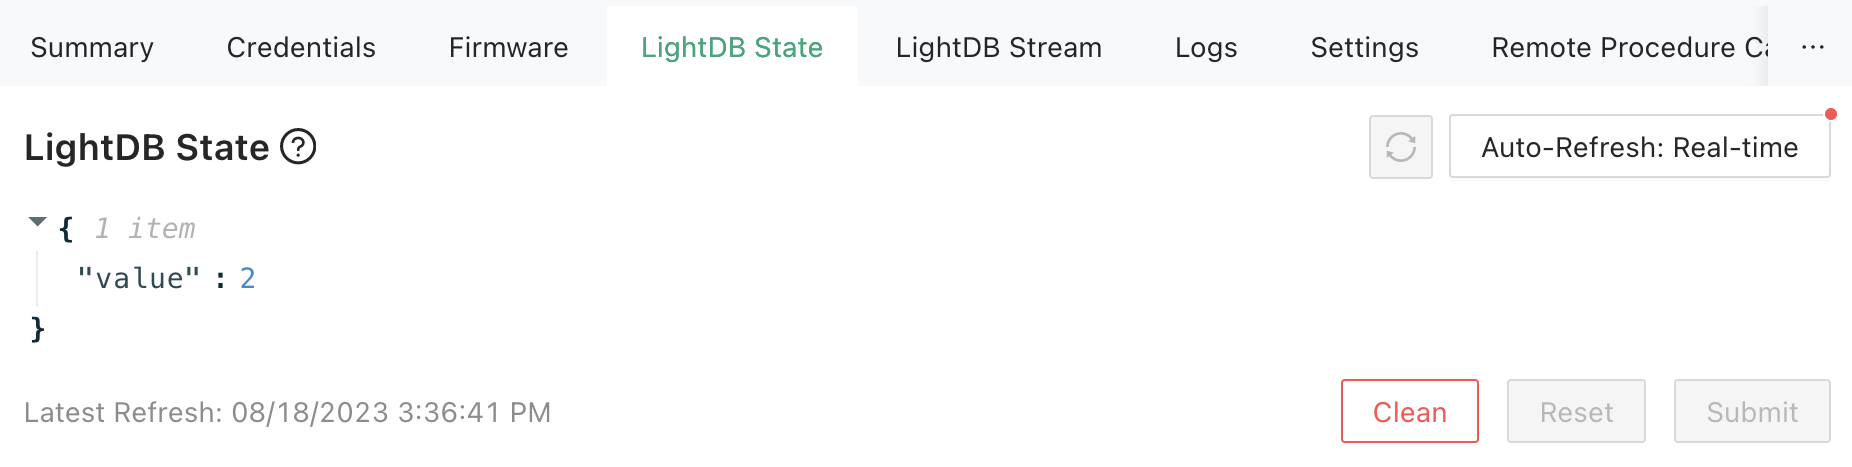
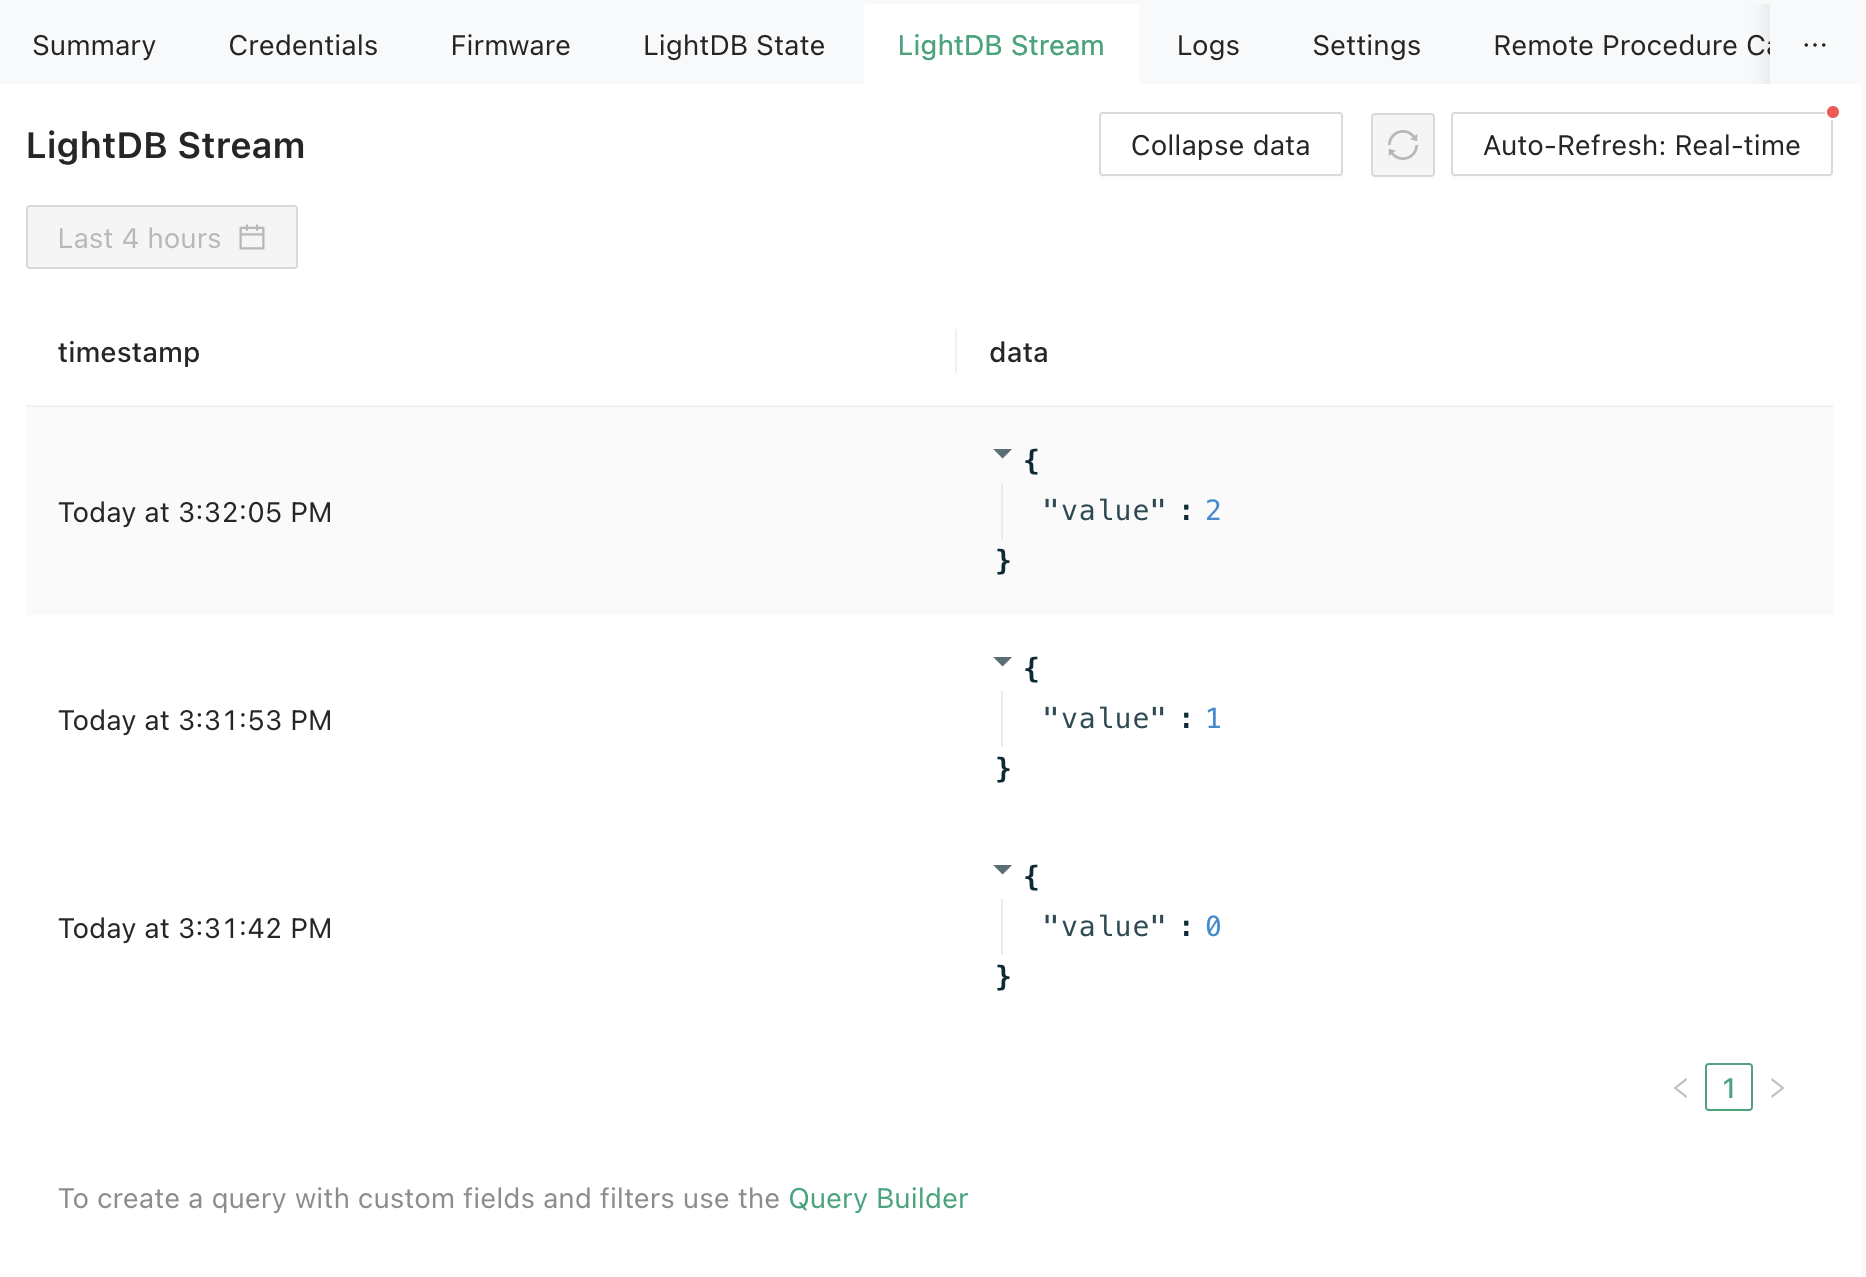
Thread node firmware is based on the Reference Design Template, a starting point for all our Reference Designs. With all Golioth features implemented in their basic form, you can now use Device Management, Data Routing, and Application Services with Thread network connectivity.
OTA Updates
Adding Thread support to a device is not cheap, memory-wise. The firmware image is larger than 500kB, and the on-chip flash of the nRF52840 DK has a size of 1MB. Luckily, both the nRF52840 DK and the Adafurit Feather have an external flash chip, making the OTA updates possible. Any custom hardware you create in the future should also follow this model of having external flash mapped to the nRF52840.
To create a secondary partition for MCUBoot in an external flash, we must first enable it in the nrf52840dk_nrf52840.overlay file:
/ {
    chosen {
        nordic,pm-ext-flash = &mx25r64;
    };
};
The CONFIG_PM_EXTERNAL_FLASH_MCUBOOT_SECONDARYKconfig option is set by default to place the secondary partition of MCUboot in the external flash instead of the internal flash (this option should only be enabled in the parent image).
To pass the image-specific variables (device-tree overlay file and Kconfig symbols) to the MCUBoot child image, we need to create a child-image folder in which we need to update the CONFIG_BOOT_MAX_IMG_SECTORS Kconfig option. This option defines the maximum number of image sectors MCUboot can handle, as MCUboot typically increases slot sizes when external flash is enabled. Otherwise, it defaults to the value used for internal flash, and the application may not boot if the value is set too low. In our case, we updated it to 256in the child_image/mcuboot/boards/nrf52840dk_nrf52840.conf file.
CONFIG_BOOT_MAX_IMG_SECTORS=256
Connecting to Golioth Cloud
Thread nodes utilize IPv6 address space, and the question is how to communicate with IPv4 hosts, such as Golioth Cloud.
Golioth Cloud has an IPv4 address, and the Thread node needs to synthesize the server’s IPv6 address in order to connect to it. OpenThread doesn’t use the NAT64 well-known prefix 64:ff9b::/96; instead, Thread Border Routers publish their dynamically generated NAT64 prefix used by the NAT64 translator in the Thread Network Data. Thread nodes must obtain this NAT64 prefix and synthesize the IPv6 addresses.
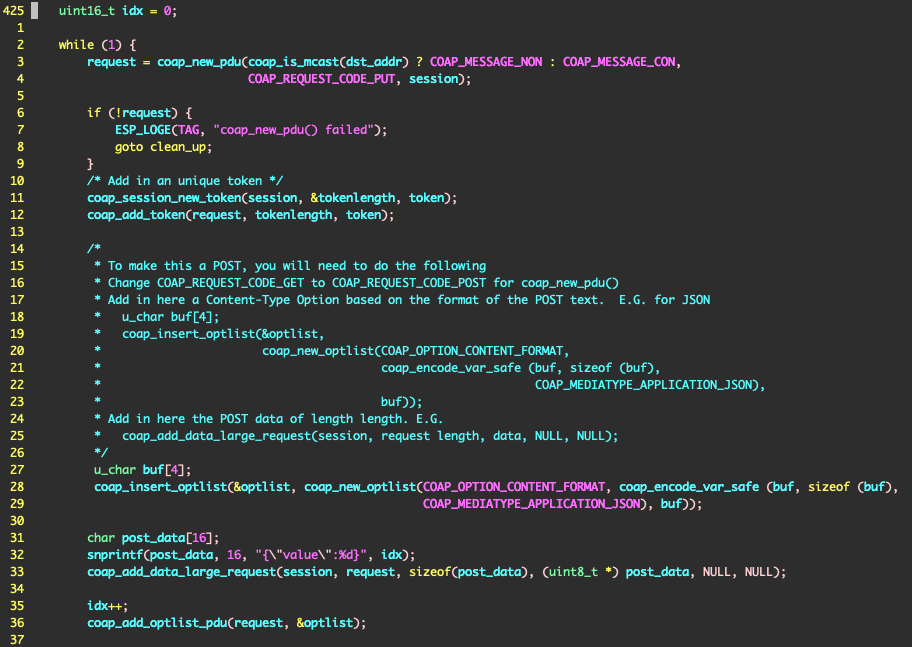
While the process of synthesizing IPv6 addresses is automatically handled in the OpenThread CLI when using the Zephyr shell and pinging an IPv4 address (e.g. ot ping 8.8.8.8), it’s important to note that this process needs to be specifically implemented in applications.
As part of the Firmware SDK, the Golioth IPv6 address is automatically synthesized from the CONFIG_GOLIOTH_COAP_HOST_URI Kconfig symbol using the advertised NAT64 prefix by leveraging the OpenThread DNS. Even if the Golioth host URI changes within the SDK, you won’t need to change your application.
Learn more
For detailed information about the OpenThread Demo, check out more details the project page! Additionally, you can drop us a note on our Forum if you have questions about this design. If you would like a demo of this reference design, contact [email protected].