Zephyr has extensive built-in support for a multiverse of microcontrollers, development boards, and sensors. This is possible because of an abstraction layer that allows anyone to hook their own devices into the system. However, there are a few bits of core knowledge you need to get everything working just right. Let’s work our way through those and discuss how to write a Zephyr device driver!
Overview of Zephyr Device Drivers
You will want to implement most of these pieces to get your device driver up and running:
- Devicetree binding to define a “compatible” for your device
- Kconfig symbol to include or exclude the driver from the build
- Power management support to move between power modes (on, standby, sleep, etc.)
- A data structure for per-instance data storage
- An API so user applications may access the driver
None of this is particularly complex, but as a whole, it can be daunting to figure out where to start and how to troubleshoot when something isn’t working correctly.
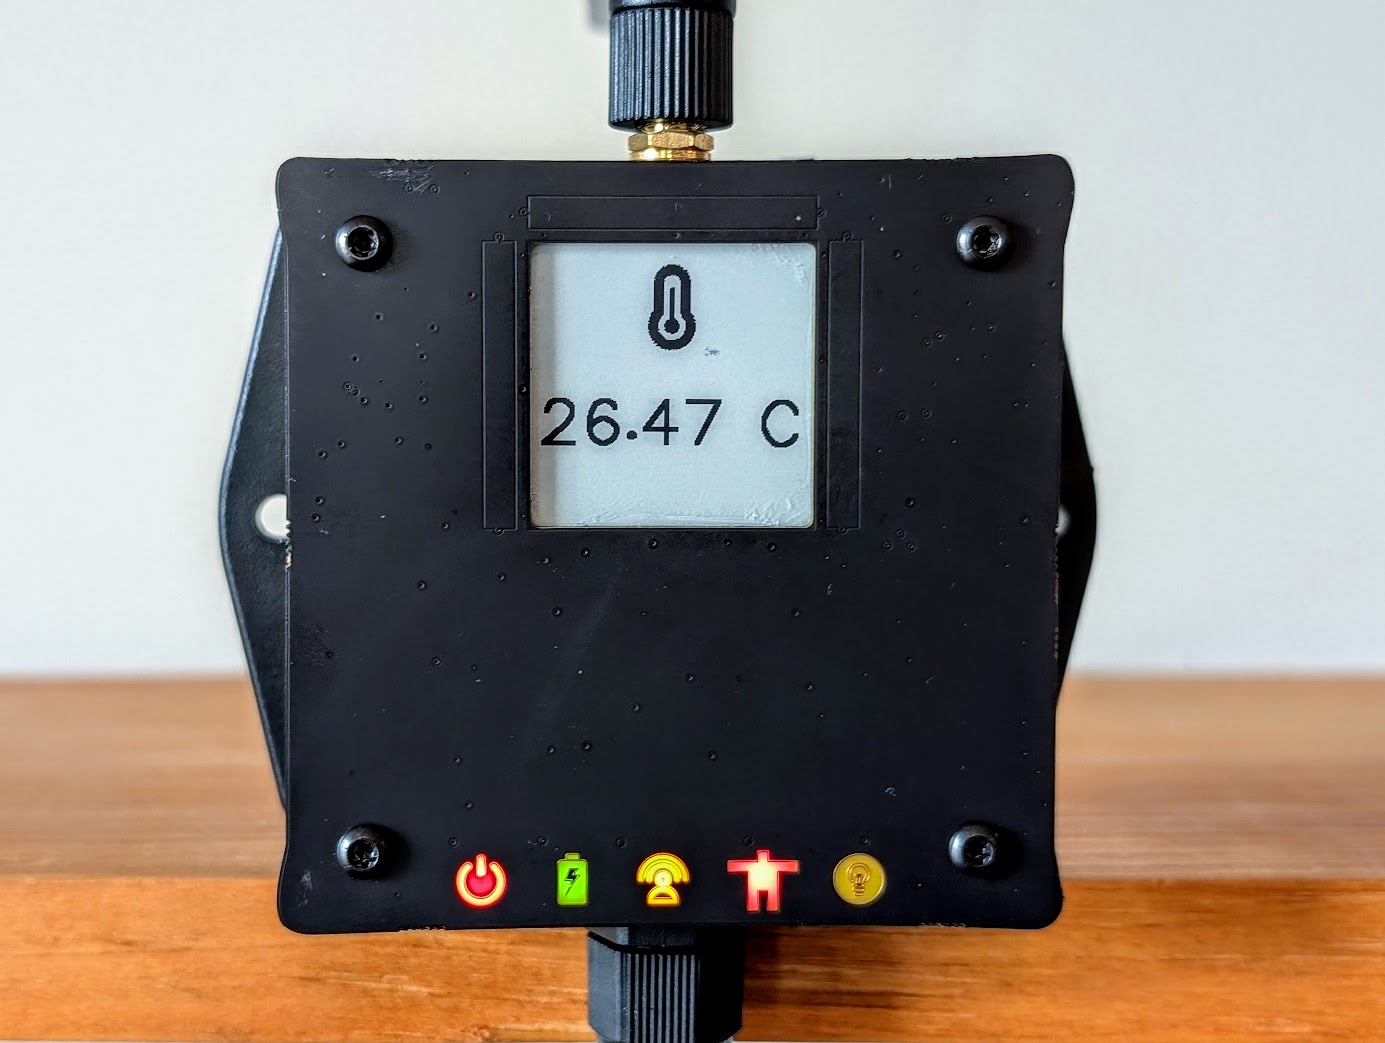 In preparation for this post, I converted the Golioth Ostentus library (libostentus) into a proper Zephyr device driver. Ostentus is an open source hardware faceplate that adds a user interface to an embedded project using i2c. While it certainly worked before this change, we get a few nice bonuses by making it a driver:
- The device is now added as a devicetree node
- The library is automatically selected when a devicetree node is preset
- The driver will automatically initialize the device before the application begins running
- Multiple instances of the device may now be included in a single build
Let’s dig in!
Optional Prerequisite: How to Write a Zephyr Module
Zephyr device drivers may be included in your application directory. But in this case, we want to use the Ostentus in numerous Zephyr projects. To accomplish this, we need to make the driver a Zephyr Module. This means it will live in its own git repository and be included in the west manifest of projects that use it.
I’ve previously written about this process. If you need a refresher, check out our post on How to Turn Helper Code into a Zephyr Module.
Tree Overview
.
├── CMakeLists.txt
├── dts
│   └── bindings
│       ├── golioth,ostentus.yaml
│       └── vendor-prefixes.txt
├── include
│   └── libostentus.h
├── Kconfig
├── libostentus.c
└── zephyr
    └── module.yml
We’ll be jumping back and forth through files during this post. For your reference, this tree contains all the files we’ll touch along the way.
1. Create the Binding and add it to the Zephyr Module
Ostentus is an i2c device with no other special considerations. That makes the binding really simple because we just need to include the default i2c binding.
golioth Golioth
description: "Golioth Ostentus Faceplate"

compatible: "golioth,ostentus"

include: [i2c-device.yaml]
The directory structure includes two files in dts/bindings. Since Golioth isn’t in Zephyr’s existing list of hardware vendors, it’s added to the vendor-prefixes.txt file. (Note that the syntax for this file requires a tab character between the vendor prefix and the vendor name.)
The binding itself uses the <vendor>,<device>.yaml naming convention. That file defines the golioth,ostentus compatible and (as already mentioned) includes the existing i2c device binding.
One place I struggled was in getting Zephyr to properly ingest this binding. Because this is a module, we need to specify a dts_root in zephyr/module.yml so that it will look for our dts directory:
build:
  cmake: .
  kconfig: Kconfig
  settings:
    dts_root: .
2. Set Kconfig to Automatically Enable the Driver
You’ll know your changes made in step 1 are working because a project built with a golioth,ostentus compatible in the devicetree will result in the following Kconfig symbol in build/zephyr/.config:
CONFIG_DT_HAS_ARM_V8M_NVIC_ENABLED=y
CONFIG_DT_HAS_FIXED_PARTITIONS_ENABLED=y
CONFIG_DT_HAS_GOLIOTH_OSTENTUS_ENABLED=y
CONFIG_DT_HAS_GPIO_KEYS_ENABLED=y
CONFIG_DT_HAS_GPIO_LEDS_ENABLED=y
Neat, right? The symbol appears automatically, based on the CONFIG_DT_HAS_<VENDOR>_<DEVICENAME>_ENABLED syntax from the compatible that was defined. This is useful because we can depend upon it to add the library to the build.
menuconfig LIB_OSTENTUS
    bool "Enable the driver library for the Golioth Ostentus faceplate"
    default y
    depends on DT_HAS_GOLIOTH_OSTENTUS_ENABLED
    select I2C
    help
      Helper functions for controlling the Golioth Ostentus faceplate.
      Features include controlling LEDs, adding slides and slide data,
      enabling slideshows, etc.

if LIB_OSTENTUS

config OSTENTUS_INIT_PRIORITY
    int "Ostentus init priority"
    default 90
    help
      Ostentus initialization priority.

config OSTENTUS_LOG_LEVEL
    int "Default log level for libostentus"
    default 4
    help
        The default log level, which is used to filter log messages.

        0: None
        1: Error
        2: Warn
        3: Info
        4: Debug
        5: Verbose

endif #LIB_OSTENTUS
This Kconfig file adds the LIB_OSTENTUS symbol, but only if DT_HAS_GOLIOTH_OSTENTUS_ENABLED is present. In this case, the library symbol was added as a menu with two additional symbols used to set the log level and the initialization priority.
3. Define Typedefs and Custom Device API
Now the real work begins.
This section is all about writing a custom device API. If all you’re after is adding your own sensor to Zephyr, you can pretty much skip this section because all the work has been done for you in include/zephyr/drivers/sensor.h. That’s just one in-tree API you can choose from, so if any of them fit your needs please use one of those.
The Ostentus doesn’t fit into any of the existing APIs so we need to create our own. This happens in a header file named for your driver and placed in the include directory of your driver repository. First, make a typedef that reflects the parameter fingerprint of all the functions you want to call as part of your driver.
typedef int (*ostentus_cmd_t)(const struct device *dev);
typedef int (*ostentus_setval_8_t)(const struct device *dev, uint8_t val);
Now use those typedefs to declare your API.
__subsystem struct ostentus_driver_api {
    ostentus_cmd_t ostentus_clear_memory;
    ostentus_setval_8_t ostentus_led_power_set;
};
This prepares a driver API for use when we define the device instances. In reality there are a couple dozen functions in our actual API that use less than a dozen typedefs. Here’s the relevant code if you’re interested in seeing everything.
4. Define Syscalls and Inline Functions
Now that we have an API, we need inline functions that will call the functions associated with that API.
You have a choice to make these regular functions, or syscall functions. Zephyr offers a User Mode which sandboxes the application. If you want your driver to work for User Mode applications, you need to implement them as syscalls.
__syscall int ostentus_clear_memory(const struct device *dev);

static inline int z_impl_ostentus_clear_memory(const struct device *dev)
{
    const struct ostentus_driver_api *api = (const struct ostentus_driver_api *)dev->api;
    if (api->ostentus_clear_memory == NULL) {
        return -ENOSYS;
    }
    return api->ostentus_clear_memory(dev);
}

__syscall int ostentus_led_power_set(const struct device *dev, uint8_t state);

static inline int z_impl_ostentus_led_power_set(const struct device *dev, uint8_t state)
{
    const struct ostentus_driver_api *api = (const struct ostentus_driver_api *)dev->api;
    if (api->ostentus_led_power_set == NULL) {
        return -ENOSYS;
    }
    return api->ostentus_led_power_set(dev, state);
}
The __syscall directive is used in the function prototype, then when defining the function the z_imp_ is used to prefix the name of the API call. Note the purpose of this inline function is to check that a function was assigned to this API call (we’ll do that in step 6 below), before passing the parameters to that function.
To finish setting up the syscalls we need to add a special include to the end of this file. That include uses the #include <syscalls/[NameOfThisHeaderFile]> format. We also need to tell CMake that this file uses syscalls.
#include <syscalls/libostentus.h>
zephyr_syscall_header(${ZEPHYR_LIBOSTENTUS_MODULE_DIR}/include/libostentus.h)
Once again, there are far more functions defined in the actual driver, which you can see for yourself by viewing the actual header file.
5. Implement the Driver Functions and Assign to the API
Technically, the header file we created in steps 3 and 4 is a generic API that may be reused by any number of different devices. Now we can implement one such device. We’ll use the libostentus.c file to write the device-specific functions, then assign them to our API calls.
#include <libostentus.h>
#include <libostentus_regmap.h>
#include <zephyr/drivers/i2c.h>
static int ostentus_i2c_write2(const struct device *dev, uint8_t reg, uint8_t *data1,
uint8_t data1_len, uint8_t *data2, uint8_t data2_len)
{
const struct ostentus_config *config = dev->config;
struct i2c_msg msgs[] = {
{
.buf = ®,
.len = 1,
.flags = I2C_MSG_WRITE,
},
{
.buf = data1,
.len = data1_len,
.flags = I2C_MSG_WRITE,
},
{
.buf = data2,
.len = data2_len,
.flags = I2C_MSG_WRITE | I2C_MSG_STOP,
},
};
uint8_t num_msgs = ARRAY_SIZE(msgs);
/* Detect how many i2c messages there are and which is the last one */
for (int i = 1; i < ARRAY_SIZE(msgs); i++) {
if (!msgs[i].len) {
msgs[i - 1].flags |= I2C_MSG_STOP;
num_msgs = i;
}
}
return i2c_transfer_dt(&config->i2c, msgs, num_msgs);
}
static int ostentus_i2c_write1(const struct device *dev, uint8_t reg, uint8_t *data,
uint8_t data_len)
{
return ostentus_i2c_write2(dev, reg, data, data_len, NULL, 0);
}
static int ostentus_i2c_write0(const struct device *dev, uint8_t reg)
{
return ostentus_i2c_write2(dev, reg, NULL, 0, NULL, 0);
}
static int clear_memory(const struct device *dev)
{
return ostentus_i2c_write0(dev, OSTENTUS_CLEAR_MEM);
}
static int led_power_set(const struct device *dev, uint8_t state)
{
uint8_t byte = state ? 1 : 0;
return ostentus_i2c_write1(dev, OSTENTUS_LED_POW, &byte, 1);
}
This file begins with three functions that handle writing to the device using i2c that aren’t defined in the API. The two functions at the bottom of the file receive device structs (and all other parameters) in a way that matches the typedefs created in step 3. These two functions pass the device struct to the i2c functions to communicate with the device.
Now it’s time to associate these functions with the API.
static const struct ostentus_driver_api ostentus_api = {
    .ostentus_clear_memory = &clear_memory,
    .ostentus_led_power_set = &led_power_set,
};
Once again, this is a greatly simplified version of the actual API definition.
6. Define the Device Instances
There’s a lot happening in this set but we’re almost done! To tie everything together we must declare a driver compatible and handle the data, configuration, power management, and initialization. All of these parts are tied together with a bit of “macrobatics“.
Declare a Driver Compat
This is incredibly important and easy to miss. Declare a driver compatible that matches your devicetree binding in your c file:
#define DT_DRV_COMPAT golioth_ostentus
Device Data
This device has no need for persistent data. We could do something like store the firmware version the Ostentus faceplate reports, but that can just be read and printed during initialization with no need for storage.
To learn more about handling data, check out any of the sensor drivers in the Zephyr tree for data struct and data initialization.
Power Management
We have not yet implemented power management for this device. Future work might include sending a command that puts the Ostentus in sleep mode, and another to wake it up again.
Examples of power management are available in the Zephyr tree sensor drivers.
Configuration
Configuration info is basically a context for each device instance. This is where the driver will store the i2c bus and address info for Ostentus. The struct is defined in the driver header file.
struct ostentus_config {
    struct i2c_dt_spec i2c;
};
Initialization
The driver will automatically initialize the device, but we must supply the initialization function.
static int ostentus_init(const struct device *dev)
{
    const struct ostentus_config *config = dev->config;

    if (!device_is_ready(config->i2c.bus)) {
        LOG_ERR("I2C bus device not ready");
        return -ENODEV;
    }

    char buf[32];
    int err = version_get(dev, buf, 32);
    if (err) {
        LOG_ERR("Unable to communicate with Ostentus over i2c: %d", err);
        return err;
    } else {
        LOG_INF("Ostentus firmware version: %s", buf);
    }

    return 0;
}
This function gets the i2c bus from the associated config struct and tests to make sure everything is kosher. It then reads and logs the firmware version from the device.
Macros for Device Instances
Now use macros to tie everything together at the bottom of the C file.
#define OSTENTUS_DEFINE(inst)                                      \
    static const struct ostentus_config ostentus_config_##inst = { \
        .i2c = I2C_DT_SPEC_INST_GET(inst),                         \
    };                                                             \
                                                                   \
    DEVICE_DT_INST_DEFINE(inst,                                    \
                  ostentus_init,                                   \
                  NULL,                                            \
                  NULL,                                            \
                  &ostentus_config_##inst,                         \
                  POST_KERNEL,                                     \
                  CONFIG_OSTENTUS_INIT_PRIORITY,                   \
                  &ostentus_api);

DT_INST_FOREACH_STATUS_OKAY(OSTENTUS_DEFINE)
We define a macro that populates the member of the config struct using devicetree information. (This would also be where you would populate data and power management if you have them.)
The DEVICE_DT_INST_DEFINE function passes in the init function, config struct, power management (NULL), data struct (NULL), initialization level, initialization priority, and the address of the API struct. The final macro calls our mega-macro once for each instance of a device encountered in the devicetree.
Using Your Device Driver
So, how do you use this whole thing? It’s very similar to using a sensor in Zephyr. In our case we need to first include the module in west.yml.
manifest:
  projects:
    - name: libostentus
      path: deps/modules/lib/libostentus
      revision: v2.0.0
      url: https://github.com/golioth/libostentus
Add an instance of Ostentus to the devicetree.
&i2c2 {
    /* Needed for I2C writes used by libostentus */
    zephyr,concat-buf-size = <48>;

    ostentus@12 {
        status = "okay";
        compatible = "golioth,ostentus";
        reg = <0x12>;
    };
};
And then interact with the device in your application:
#include <libostentus.h>

static const struct device *ostentus = DEVICE_DT_GET_ANY(golioth_ostentus);

static int some_function(void)
{
    ostentus_clear_memory(ostentus);
    ostentus_led_power_set(ostentus, 1);
}
Going Deeper
There’s a lot here to digest. While this is a nice walkthrough, the full code is worth your review. All Golioth hardware is open source and that includes the libostentus driver library used as the example in this post.
In 2022 I attended a fantastic talk on custom drivers presented by Gerard Marull Paretas at the Zephyr Developer’s Summit. You can watch the talk recording and also peruse the sample code from that talk. I’d like to extend a personal thank you to Gerard for such an excellent presentation!
What are you building? We’d love hear about the devices for which you’re creating drivers. Start a thread in the Golioth Forum to share the progress of your work!

No comments yet! Start the discussion at forum.golioth.io