Visual Studio Code, colloquially known as VScode, is among the most popular integrated development environments (IDEs). Today we’re going to walk through the process of setting up ESP-IDF in VScode and using it to run Golioth device management example code on an ESP32.
Not everyone likes to live their lives hammering away at a command prompt. What we’ll cover today is another option which uses Espressif’s VScode extension (plugin) to largely automate how you work with the Espressif IoT Development Framework (ESP-IDF). That means nice buttons and interfaces to build, flash, and monitor applications for the ESP32 family of chips.
Installing VScode and the ESP-IDF extension
As a prerequisite you will need to have VScode installed. If you don’t, head over to the download page and do so now.
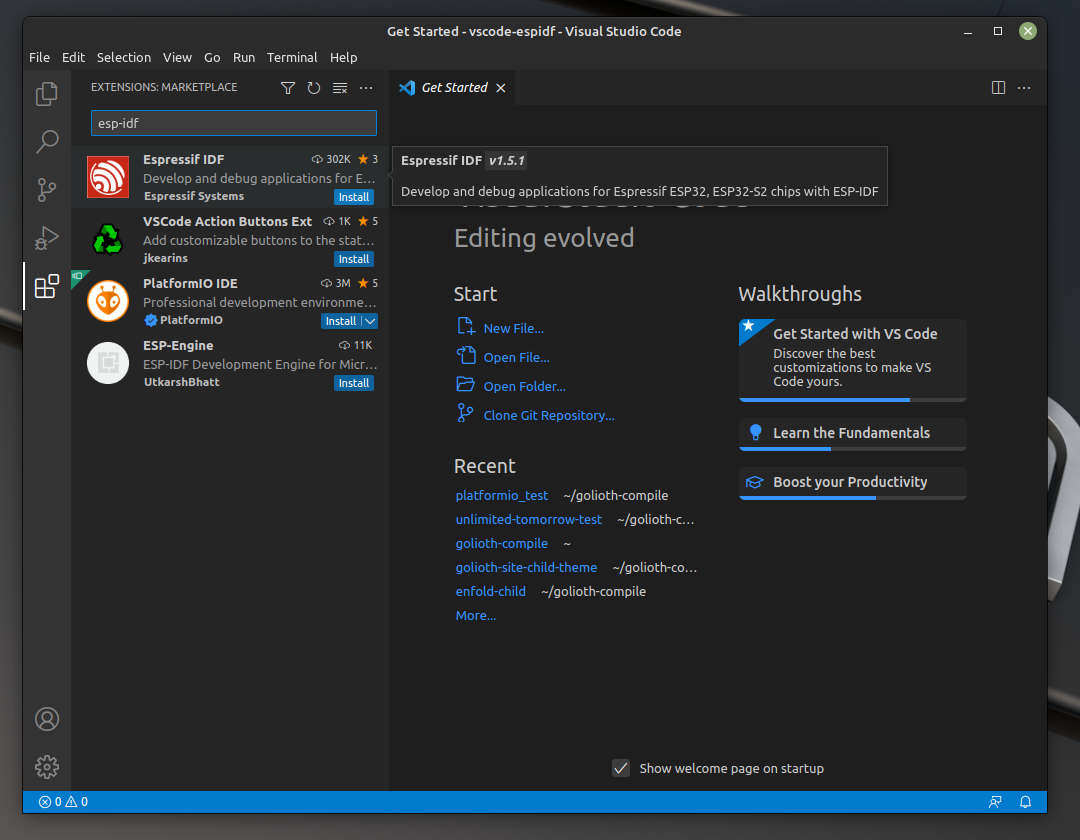
Open VScode and click on the extensions icon (looks like four boxes) on the left sidebar. Type esp-idf into the search bar that appears and the top result will be “Espressif IDF”. Click the install button and you’re off to the races.
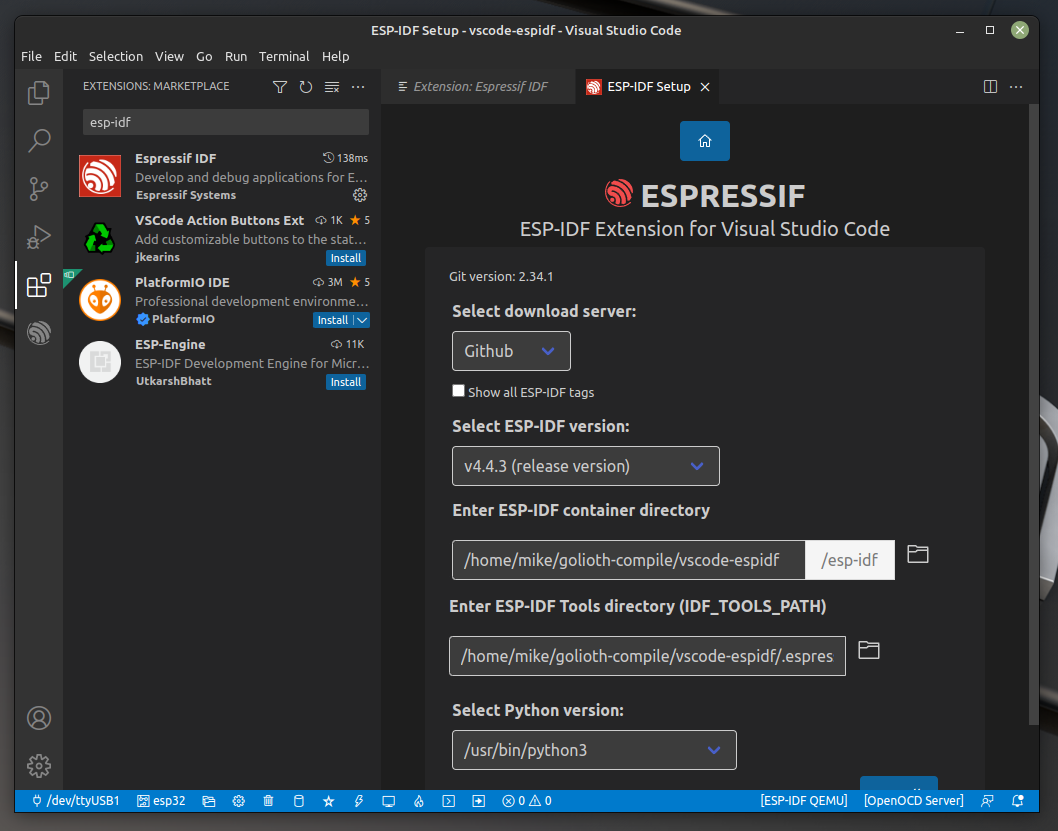
You will be greeted with options for installing the various ESP-IDF tools. If you don’t have an opinion on how things are installed you can choose the automatic route. I wanted to specify what directories were used during the install so I chose the manual route and used the settings above.
It will take a few minutes for everything to download. You will want to click on the “Download ESP-IDF Tools” to ensure that the compilers and other tools are downloaded (in addition to the Espressif SDK). If you need more help, check out Espressif’s installation guide.
Installing the Golioth Firmware SDK
Now that VScode and the ESP-IDF are installed, let’s take a moment to install the Golioth Firmware SDK. This provides the tools and sample code for connecting your ESP32 to Golioth.
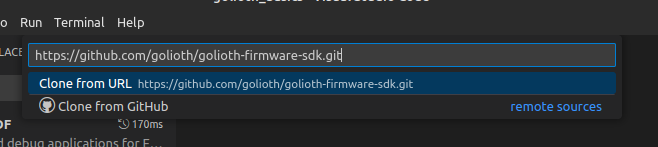
VScode has a handy tool for cloning git repositories. Bring up the command palette (ctrl-shift-p), type in gitcl, and press enter. A prompt will open in the same window for you to enter the following URL:
https://github.com/golioth/golioth-firmware-sdk.git
After pressing enter, a window will open where you can select a folder to store the repository. A folder called golioth-firmware-sdk will be placed in that location.
VScode will ask if you want to open the cloned repository. Please click Cancel on this window. The Golioth Firmware SDK supports multiple platforms and we will open the ESP-IDF specific directory in the next step.
Open the project and update the git submodules
Now that the repository has been cloned, let’s open the sample code in VScode. Click File→Open Folder and navigate to the golioth-firmware-sdk/examples/esp_idf/golioth_basicsfolder, then click Open.
The Golioth SDK includes a few packages as submodules and these must be updated before continuing. We’re going to use the terminal for this step. In VScode click Terminal→New Terminal. A terminal window will open in the golioth-basics folder. Type this command to update the submodules:
git submodule update --init --recursive
Type exit to close the terminal window.
Build, flash, and monitor the golioth-basics application
Now that everything is installed we get to see the ease of using an IDE.

The bar along the bottom of the VScode window includes icons for working with the ESP-IDF tools. Make sure your ESP32 is plugged into USB. Click the flame-shaped icon which will build the project, flash it to the ESP32, and open a serial connection to the chip.
The build will take place and then VScode will open a window in the top center prompting you to select JTAG/UART/DFU. We will be using UART. Also note that there is a selection in the bottom menu bar where you can set the port that will be used when flashing (the image above shows /dev/ttyUSB1 in my case).
Assign device credentials in the monitor window
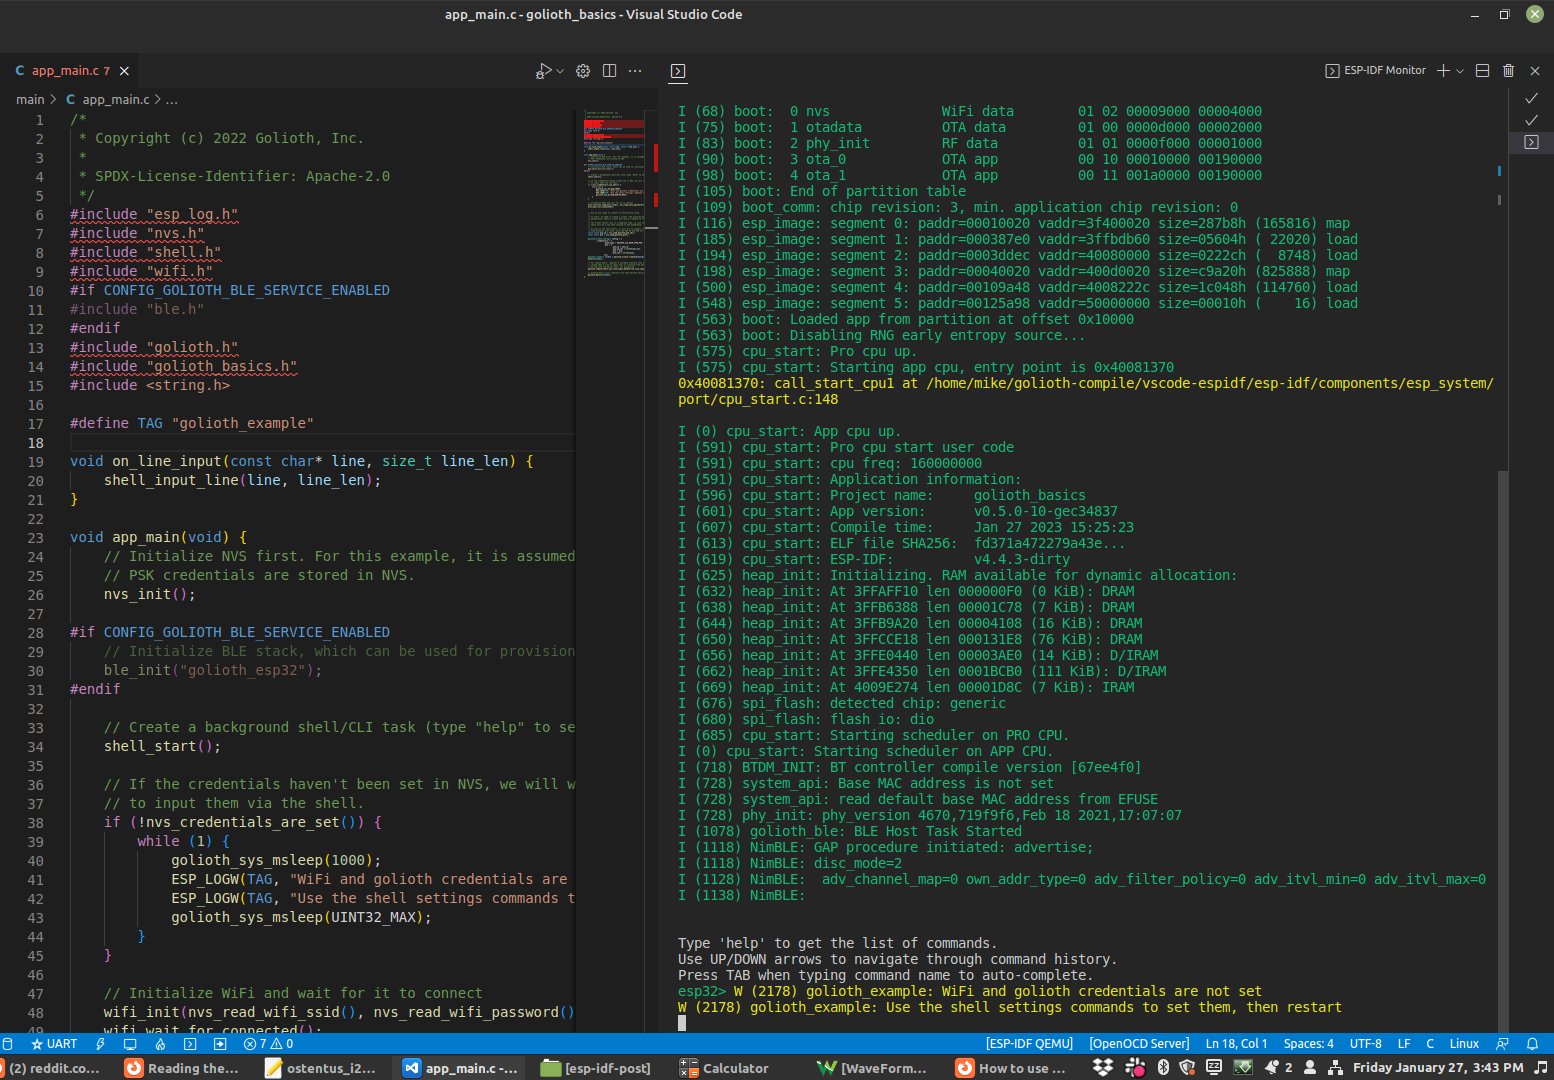
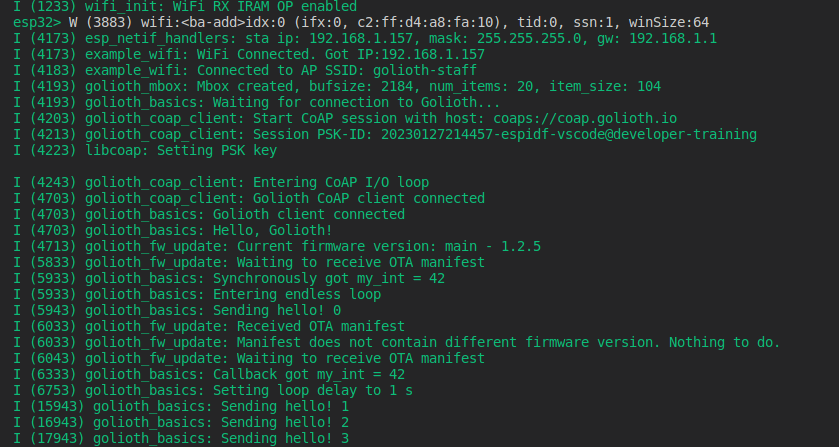
The golioth-basics app will begin running immediately and you should see an output from the chip in a window inside VScode. We need to give the chip WiFi and Golioth credentials so that it can connect to the cloud.
If you have not yet signed into Golioth, our Dev Tier is free for your first 50 devices. (Tip: there is a Console Overview on our docs that will walk you through creating a set of device credentials.) Get your Golioth credentials, and the login info for your WiFi access point, and pass them to the chip using this command format:
settings set wifi/ssid YourWiFiAccessPointName
settings set wifi/psk YourWiFiPassword
settings set golioth/psk-id YourGoliothDevicePSK-ID
settings set golioth/psk YourGoliothDevicePSK

Once you’ve set the credentials, type reset and the ESP32 will reboot, connect to WiFi and then to Golioth.
Wrapping up
You’ve successfully compiled, flashed, and run a demo Golioth application for ESP-IDF using VScode. The same principles can be applied to your own projects.
If you’d like to dig deeper into how the golioth-basics code works, I encourage you to study the golioth_basics.c file in the golioth-firmware-sdk/examples/common folder. It demonstrates all of the Golioth device management features like OTA firmware updates, remote procedure calls (RPC), IoT fleet settings service, LightDB State and LightDB Stream data services, and remote logging.
We’d love to hear about the projects your working on. Share your successes and post your question on the Golioth Forums. If you’re interested in learning how to add Golioth to your IoT fleet, get in touch with our Developer Relations crew.
References:
- Espressif: Getting Started with VS Code IDE
- How to add Golioth to any ESP-IDF project
- Announcing The Golioth ESP-IDF SDK

No comments yet! Start the discussion at forum.golioth.io