Devices that connect to the Golioth Cloud communicate securely thanks to a pre-shared key (PSK) that encrypts all messages. But how do you get a unique set of credentials onto every device? The options for provisioning your devices just got a whole lot more interesting thanks to some new Golioth features. There are now two ways to set the credentials using either the device shell, or our command line tool that also fetches those credentials automatically!
Zephyr settings using the device shell
Zephyr has a shell option that runs on the device itself. This is great for things like network or i2c debugging (there are specialized commands for both of those and much more). You send your credentials over a serial connection and Golioth leverages the Zephyr settings subsystem to store the device credentials (PSK-ID and PSK) in flash memory.
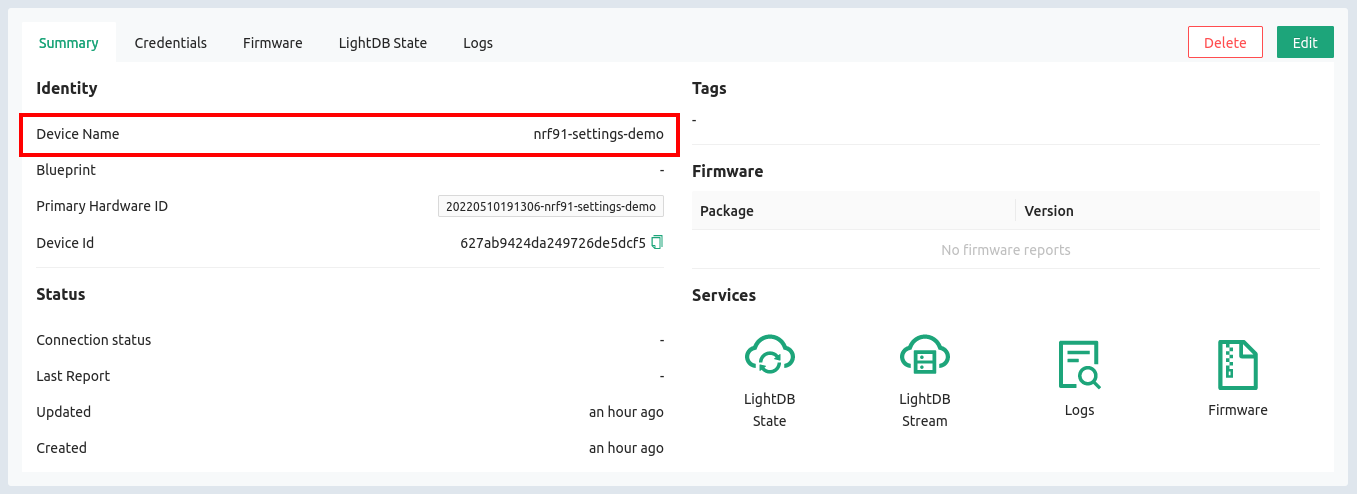
As part of the getting started guide, you already set up a device in the Golioth Console. Use the Devices sidebar option to find that device again (or create a new one) and click on the Credentials tab to access your PSK-ID and PSK:

Now we need some code to run on the device. The Golioth settings example already has this feature built in. For this example I’m using a Nordic nRF9160dk. You can build and flash the example right away. Normally we’d put credentials into the prj.conf file first, but this time we’ll just assign those from the shell!
[sourcecode]
cd ~/golioth-ncs-workspace/modules/lib/golioth/
west build -b nrf9160dk_nrf9160_ns samples/settings/
west flash
[/sourcecode]
Once programming has completed, load up your serial terminal tool of choice. I like to use minicom -D /dev/ttyACM0 but you should have the same success with screen /dev/ttyACM0 115200 or any other similar tools.
- You’ll be greeted by the
uart:~$command prompt - The syntax that we need is
settings- PSK-ID needs to be assigned to
golioth/psk-id - PSK needs to be assigned to
golioth/psk
- PSK-ID needs to be assigned to
- Reboot the device after changing the settings
Here’s what that looks like in action (important lines highlighted):
[sourcecode highlight=”6,9,12″]
uart:~$ *** Booting Zephyr OS build v2.6.99-ncs1-1 ***
[00:00:00.209,716] <inf> golioth_system: Initializing
[00:00:00.216,278] <inf> fs_nvs: 2 Sectors of 4096 bytes
[00:00:00.216,278] <inf> fs_nvs: alloc wra: 0, fa8
[00:00:00.216,278] <inf> fs_nvs: data wra: 0, 90
uart:~$ settings set golioth/psk-id nrf91-settings-demo-id@blog-demo
Setting golioth/psk-id to nrf91-settings-demo-id@blog-demo
Setting golioth/psk-id saved as nrf91-settings-demo-id@blog-demo
uart:~$ settings set golioth/psk my_complex_password
Setting golioth/psk to my_complex_password
Setting golioth/psk saved as my_complex_password
uart:~$ kernel reboot cold
[/sourcecode]
After rebooting, the board connects to a cell tower and the connection to Golioth is successfully established!!
[sourcecode]
uart:~$ *** Booting Zephyr OS build v2.6.99-ncs1-1 ***
[00:00:00.215,850] <inf> golioth_system: Initializing
[00:00:00.222,381] <inf> fs_nvs: 2 Sectors of 4096 bytes
[00:00:00.222,412] <inf> fs_nvs: alloc wra: 0, fa8
[00:00:00.222,412] <inf> fs_nvs: data wra: 0, 90
[00:01:06.672,241] <dbg> golioth_hello.main: Start Hello sample
[00:01:06.672,485] <inf> golioth_hello: Sending hello! 0
[00:01:06.673,004] <wrn> golioth_hello: Failed to send hello!
[00:01:06.673,095] <inf> golioth_system: Starting connect
[00:01:06.967,102] <inf> golioth_system: Client connected!
[00:01:11.673,065] <inf> golioth_hello: Sending hello! 1
[00:01:16.674,316] <inf> golioth_hello: Sending hello! 2
[/sourcecode]
Golioth Credentials automatically set from the command line
What if I told you that a one-line command could look up your device credentials from the Golioth Cloud and automatically send them to the device? This is literally the feature we’ve implemented. Now, I’m excited about the shell settings above, but this new command line feature is absolutely legendary!
- Look up your device name from the Golioth Console
- Issue the command, using your device name and the correct port:
goliothctl device config --name --port
Here’s what it looks like in action:
[sourcecode]
$ goliothctl device config –name nrf91-settings-demo –port /dev/ttyACM0
failed to get golioth/psk-id from device: setting not found
device success setting golioth/psk-id saved as nrf91-settings-demo-id@blog-demo
failed to get golioth/psk from device: setting not found
device success setting golioth/psk saved as my_complex_password
closing serial read
[/sourcecode]
And check this out, it’s a quick way to make sure you have the device credentials correct. Since you’re not copy/pasting or typing the credentials, you know you have it right as long as you get the name of the device right. Running the command a second time confirms those settings are correct:
[sourcecode]
$ goliothctl device config –name nrf91-settings-demo –port /dev/ttyACM0
golioth/psk-id in the device is already set to nrf91-settings-demo-id@blog-demo
golioth/psk in the device is already set to my_complex_password
closing serial read
[/sourcecode]
Visions of End Users and Bulk Provisioning
Two really easy ways to see the new features put to use are end users and manufacturing. Imaging sending devices with “stock” firmware out to customers and having them add their own credentials (we have a snazzy web-based demo in the works so stay tuned). The other thought is toward bulk-provisioning where a script can be used to register the new device on Golioth, generate credentials, and send them to the device all in the same step.
We’d love to heard about your experiences with these new tools. Catch up with us on the Golioth Discord so we can have a chat!
