Adding Golioth to an existing Zephyr project is easy because the Golioth Firmware SDK can be included as a Zephyr module. Today, let’s walk through the process. It mainly hinges on ensure you choose a Golioth SDK version that will work with your Zephyr or NCS version. As an added bonus, we’ll cover the bare-bones requirements to get your first device connected.
Choose the version of Golioth you need to use
Our recommendation is to use the most recent release of the Golioth Firmware SDK, and update your Zephyr/NCS version to match. We monitor both NCS and Zephyr development and test the release candidates as they become available. This means Golioth releases keep up with each RTOS release.
To identify the release of the Golioth Firmware SDK you should be using:
- Navigate to the releases page and click on the tag number for the most recent release.
- Click on the manifest file for your chosen “flavor” of Zephyr. Look at
west-zephyr.ymlfor Zephyr, orwest-ncs.ymlfor Nordic’s nRF Connect SDK. - Locate the
revisionnumber listed in the manifest file. - If you are using an older version of Zephyr/NCS than what is found in step 3, go back to step 1 and choose a release older than the most current until you find a match.
In these examples you can find v4.0.0 of Zephyr or v2.8.0 of NCS:
manifest:
  projects:
    - name: zephyr
      revision: v4.0.0
      url: https://github.com/zephyrproject-rtos/zephyr
      west-commands: scripts/west-commands.yml
      import: true

  self:
    path: modules/lib/golioth-firmware-sdk
    west-commands: scripts/west-commands.yml
    userdata:
      patches_dirs:
        - patches/west-zephyr
manifest:
  projects:
    - name: nrf
      revision: v2.8.0
      url: http://github.com/nrfconnect/sdk-nrf
      import: true

  self:
    path: modules/lib/golioth-firmware-sdk
    west-commands: scripts/west-commands.yml
    userdata:
      patches_dirs:
        - patches/west-ncs
Add the Golioth Firmware SDK as a Zephyr module
The source of truth on adding the Golioth Firmware SDK is always found in the examples/zephyr/README.md of the repository. Add an entry for Golioth to the west manifest in your existing project, using the release number of the Golioth Firmware SDK you discovered in the previous section.
projects:
  # Golioth repository.
  - name: golioth
    path: modules/lib/golioth-firmware-sdk
    revision: v0.17.0
    url: https://github.com/golioth/golioth-firmware-sdk.git
    submodules: true
You can find the manifest file for your project by using the west manifest --path command.
Once added to your manifest, use the west metatool to clone the Golioth SDK into your project.
west update
The module is enabled by adding the following Kconfig symbol to your prj.conf file:
CONFIG_GOLIOTH_FIRMWARE_SDK=y
How to Update the RTOS Version
When a new version of Zephyr or NCS is released and you want to upgrade your project, check for a matching Golioth Firmware SDK release. Follow the same process used above and then update the revision entry for Golioth in your project’s west manifest.
Bonus: Bare essentials to connect to Golioth
Adding the Golioth module is really just the first step in adding Golioth to your project. Once it’s there, you need a combination of Kconfig and C to start using it. This tends to be quite project-specific, however the bare essentials are usually about the same.
This blog post assumes your existing Zephyr application already has a network connection. For this example, I’m beginning from the /zephyr/samples/net/dhcpv4_client sample code using an NXP mimxrt1024_evk board. This already connects to the network via Ethernet, so let’s add Golioth!
Enable Golioth using Kconfig
We need to add some Kconfig symbols to use the Golioth Firmware SDK. The first one is to enable the SDK itself, the others are to allocate file descriptors required by the SDK. I’ve added these to the prj.conf file in the project.
# Golioth Firmware SDK with all dependencies
CONFIG_GOLIOTH_FIRMWARE_SDK=y
CONFIG_ZVFS_EVENTFD_MAX=7
CONFIG_ZVFS_OPEN_MAX=16
Add the Golioth client and connect to the cloud
Now we add the Golioth API calls to main.c.
#include <golioth/client.h>
struct golioth_client *client;
const char golioth_psk_id[] = "my_psk_id@my_golioth_project";
const char golioth_psk[] = "my_psk";

static void on_client_event(struct golioth_client *client, enum golioth_client_event event,
                void *arg)
{
    LOG_INF("Golioth client %s",
        event == GOLIOTH_CLIENT_EVENT_CONNECTED ? "connected" : "disconnected");
}

int main(void)
{
    /* Add after network initialization and DHCP */

    struct golioth_client_config client_config = {
        .credentials = {.auth_type = GOLIOTH_TLS_AUTH_TYPE_PSK,
                .psk = {
                    .psk_id = golioth_psk_id,
                    .psk_id_len = strlen(golioth_psk_id),
                    .psk = golioth_psk,
                    .psk_len = strlen(golioth_psk),
                }}};

    golioth_client_create(&client_config);
    golioth_client_register_event_callback(client, on_client_event, NULL);
}
For simplicity, I’ve hardcoded the PSK-ID/PSK credentials into this application. However, at production using certificate authentication is a more secure option. We recently published a video detailing one approach for using certificate auth during manufacturing.
Build, Flash, and Run
We’re ready to build and run our application. In my case, I’m using a J-Link programmer to flash the board.
west build -b mimxrt1024_evk .
west flash --runner jlink
When monitoring the serial output, we can see the device tries to connect to Golioth. The first couple of attempts are unsuccessful because the device has not yet acquired an IP address. But once the network connection is established, it reports a successful connection to Golioth.
[00:00:02.724,000] <inf> phy_mc_ksz8081: PHY 0 is up
[00:00:02.724,000] <inf> phy_mc_ksz8081: PHY (0) Link speed 100 Mb, full duplex

[00:00:02.726,000] <inf> eth_nxp_enet_mac: Link is up
*** Booting Zephyr OS build v4.0.0 ***
*** Golioth Firmware SDK v0.17.0 ***
[00:00:02.726,000] <inf> net_dhcpv4_client_sample: Run dhcpv4 client
[00:00:02.726,000] <inf> net_dhcpv4_client_sample: Start on ethernet: index=1
[00:00:02.727,000] <inf> golioth_mbox: Mbox created, bufsize: 1232, num_items: 10, item_size: 112
[00:00:02.727,000] <err> golioth_coap_client_zephyr: Fail to get address (coap.golioth.io 5684) -11
[00:00:02.727,000] <err> golioth_coap_client_zephyr: Failed to connect: -11
[00:00:02.727,000] <wrn> golioth_coap_client_zephyr: Failed to connect: -11
[00:00:07.727,000] <err> golioth_coap_client_zephyr: Fail to get address (coap.golioth.io 5684) -11
[00:00:07.727,000] <err> golioth_coap_client_zephyr: Failed to connect: -11
[00:00:07.727,000] <wrn> golioth_coap_client_zephyr: Failed to connect: -11
[00:00:11.382,000] <inf> net_dhcpv4: Received: 192.168.1.222
[00:00:11.382,000] <inf> net_dhcpv4_client_sample:    Address[1]: 192.168.1.222
[00:00:11.382,000] <inf> net_dhcpv4_client_sample:     Subnet[1]: 255.255.255.0
[00:00:11.382,000] <inf> net_dhcpv4_client_sample:     Router[1]: 192.168.1.1
[00:00:11.382,000] <inf> net_dhcpv4_client_sample: Lease time[1]: 43200 seconds
[00:00:12.933,000] <inf> golioth_coap_client_zephyr: Golioth CoAP client connected
[00:00:12.933,000] <inf> golioth_coap_client_zephyr: Entering CoAP I/O loop
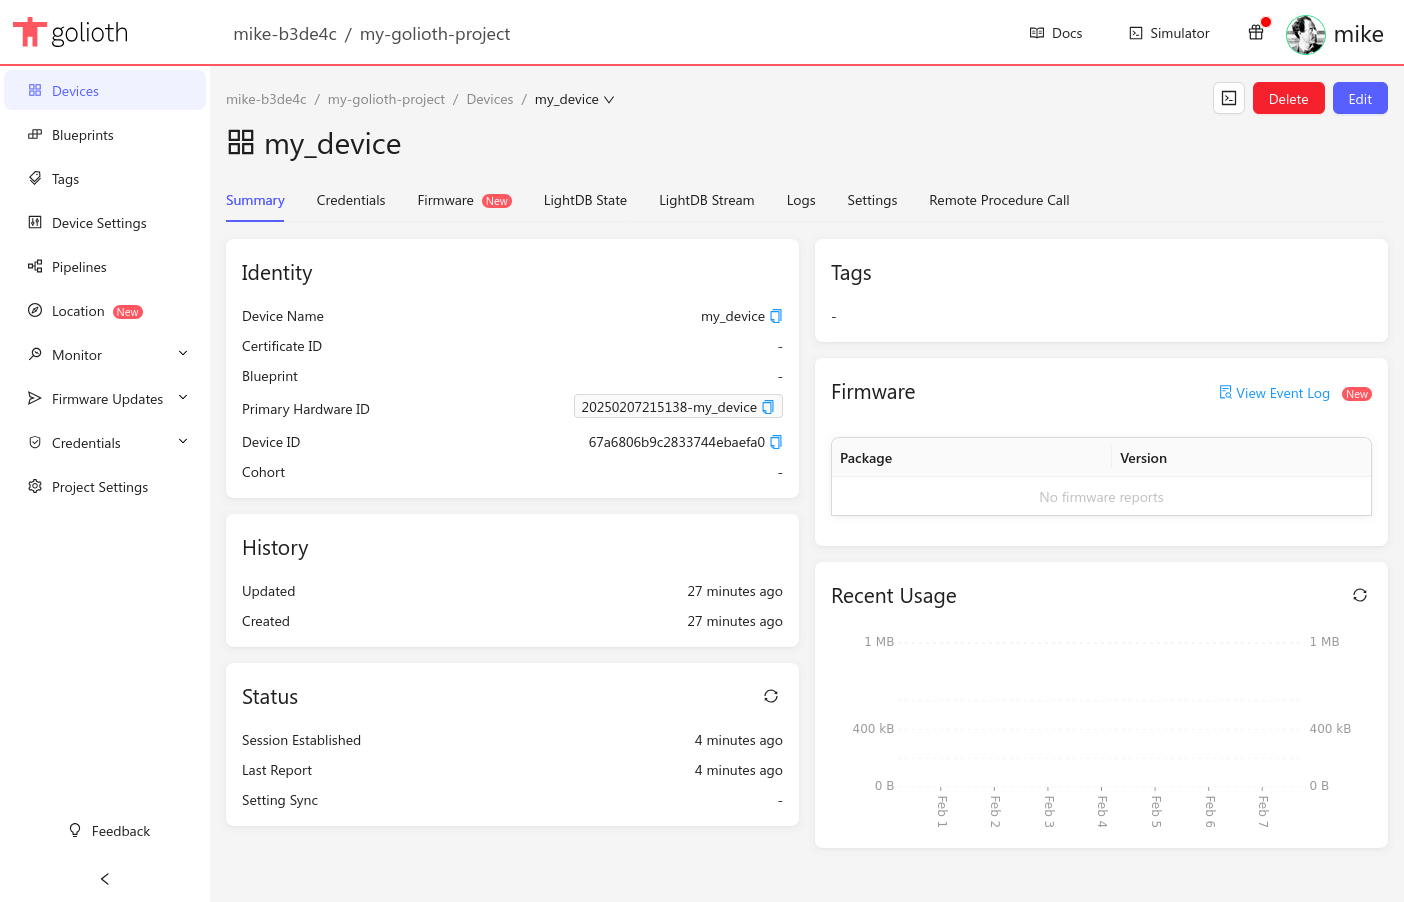
When we look at the Golioth web console, we can see under the Status section that the Session Established reports a successful connection!
Test drive Golioth, ask question
Golioth makes it easy to manage large fleets of IoT devices. Test drive Golioth today to see for yourself how we remove the pain of connecting constrained devices to the cloud. If you have questions along the way, our engineers are ready to get you answers on the Golioth forum!

No comments yet! Start the discussion at forum.golioth.io