Embedded developers always maintain sets of helper code that get used across multiple projects. With Zephyr RTOS, you can easily turn your helper code into a portable Zephyr module.
Creating a Zephyr module means you can version control your code, making changes in one centralized place, while targeting a specific git commit, tag, or branch of that code in a project. You only need to add two or three additional files to qualify as a Zephyr module. And once the module is published you can make the code available to your Zephyr projects simply by adding it to your manifest file.
A Working Example
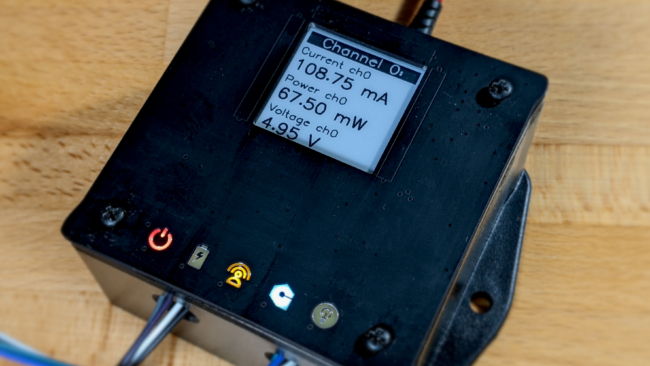
You may remember reading about Ostentus, Golioth’s custom faceplate for conference demos. This I2C display can be added to any Zephyr project by leveraging some helper code that simplifies sending data from the device to the faceplate. As this code will change in the future, it isn’t maintainable to copy it between projects, so we turned it into a Zephyr module. Let’s use this as an example. Here are the steps:
- Create a new repository to store your helper code
- Add a CMake file and an optional Kconfig file
- Add a
module.ymlfile that tells Zephyr where to find files in the module repo
That creates the module, and the final step is to add it to your project’s West manifest.
1. Create a new repository
For our example, we have just one C file and one header file. I created a new repository to store these files. Place the header file in a directory named include; you may add subdirectories if you want there be a category-like prefix when the header is included (e.g. #include <yoursubdirectory/yourfile.h>).
Here are the important parts of my tree for this module:
➜ tree
.
├── include
│   └── libostentus.h
└── libostentus.c
2. Add CMake and Kconfig files
Next we need to add a CMake file to include our source code in the build. You also have the option of including a Kconfig file. I’m going to do this optional step because it allows me to create a symbol that will turn on or off this library in the project build.
First, I create the Kconfig file in the root of the repo that adds a unique symbol (LIB_OSTENTUS) for this library:
config LIB_OSTENTUS
    bool "Enable the helper library for the Golioth Ostentus faceplate"
    default n
    depends on I2C
    help
      Helper functions for controlling the Golioth Ostentus faceplate.
      Features include controlling LEDs, adding slides and slide data,
      enabling slideshows, etc.
Next, I add the C file and the header file to the build using a CMakeLists.txt file in the root directory of the repository. Note that this uses the Kconfig symbol created in the last step to decide whether or not to build with these files.
if (CONFIG_LIB_OSTENTUS)
  zephyr_include_directories(include)
  zephyr_library_sources(libostentus.c)
endif()
3. Add module.yml
The glue that holds this together is the module.yml file, which must be placed in a zephyr subdirectory of the repository. Here I tell it where to look for the CMake and Kconfig files, although there are other options that can be added to this file.
build:
  cmake: .
  kconfig: Kconfig
I find the relative paths of this file to be a bit confusing. But the gist of it is that this file will be located at zephyr/module.yml and the paths in the file are based on the parent of that zephyr subdirectory.
Congratulations, we now have a Zephyr module made up of the following files:
➜ tree
.
├── CMakeLists.txt
├── include
│   └── libostentus.h
├── Kconfig
├── libostentus.c
└── zephyr
    └── module.yml
Using the Module in a Zephyr Project
Using the newly created module follows the familiar Zephyr pattern of adding it to the projects section of your West manifest file. (You can find your manifest file by running west manifest --path.)
manifest:
  projects:
    - name: libostentus
      path: modules/lib/libostentus
      revision: v1.0.0
      url: https://github.com/golioth/libostentus

self:
  path: app
Calling west update will now checkout the helper code and place it in modules/lib/libostentus. Remember that I added a Kconfig symbol in my example, so I need to add that to the project prj.conf file or a <board>.conf file to include this code in the build.
CONFIG_LIB_OSTENTUS=y
Using the module in your C files is a simple matter of adding the #include and then calling the functions.
#include <libostentus.h>

int main(void)
{
    clear_memory();
    show_splash();

    k_sleep(K_FOREVER);
}
Summary
Golioth supports a wide variety of hardware and use cases, and part of our strategy to make that scalable is to write and maintain modular code. The Golioth Zephyr SDK is a Zephyr module, which makes it easy to include in your project and easy to lock to a known version until you’re ready to upgrade to a newer version. We’ve used this same Zephyr module approach for helper code when building our numerous reference designs. It works well and I encourage you to adopt modular practices for your own work.
This process of creating a Zephyr module is a nice improvement over copying and pasting code between projects because it implements reliable revision control. It is also an intermediary step between implementing a project-specific driver, and creating a modular Zephyr driver. The Ostentus faceplate should eventually be converted to a full Zephyr driver, and enabled directly from Devicetree. But that’s a post for another day!
In the meantime, if you find yourself in need of a device management service with robust OTA, data handling, fleet settings, RPC, and more, give us a try. With Golioth’s Dev tier your first 50 devices are free!


No comments yet! Start the discussion at forum.golioth.io