We decided to give NXP’s new FRDM-RW612 development board and try and found it was dead simple to get it up and running with Golioth!
The FRDM-RW612 boasts a tri-radio, for WiFi, Bluetooth Low Energy, and 802.15.4 (Thread), but we haven’t had a change to test-drive those options yet. Instead, it was the built-in Ethernet that we used for connectivity. (Keep your eyes on the block for new posts putting the radios to the test.)
Zephyr Conf Files
Adding a Kconfig file for this board, and ensuring we’re using Zephyr v4.1 is all that it took to get this model to connect to Golioth.
While a new release of the Golioth Firmware SDK based on Zephyr v4.1.0 is just around the corner, I was able unlock my own unofficial support by building a repository based on Zephyr 4.1, and adding Golioth as a module. The approach for this is shown in the Golioth Zephyr README.
From there, add a boards/frdm_rw612.conf file to any of the Golioth sample applications with the following configuration:
CONFIG_GOLIOTH_SAMPLE_DHCP_BIND=y
CONFIG_NET_DHCPV4=y
CONFIG_BUILD_OUTPUT_HEX=y
Building and Flashing
Run the Zephyr build as usual. In this case I’ve specified that runtime credentials (PSK-ID/PSK) should be used for authenticating with Golioth.
cd modules/lib/golioth
west build -p -b frdm_rw612 examples/zephyr/hello/ -- -DEXTRA_CONF_FILE=../common/runtime_settings.conf
west flash
Note that although this board is using a USB-C connector, I found that it would not enumerate correctly in one of the orientations. If you do not see a J-Link device mounted on your system, try flipping the USB connector over and inserting it the other ways.
Now that the firmware is running, the board will connect to your network (assuming you’ve remembered to connect the Ethernet cable). However, we need to provision the Golioth credentials onto the device for it to connect to the Golioth cloud.
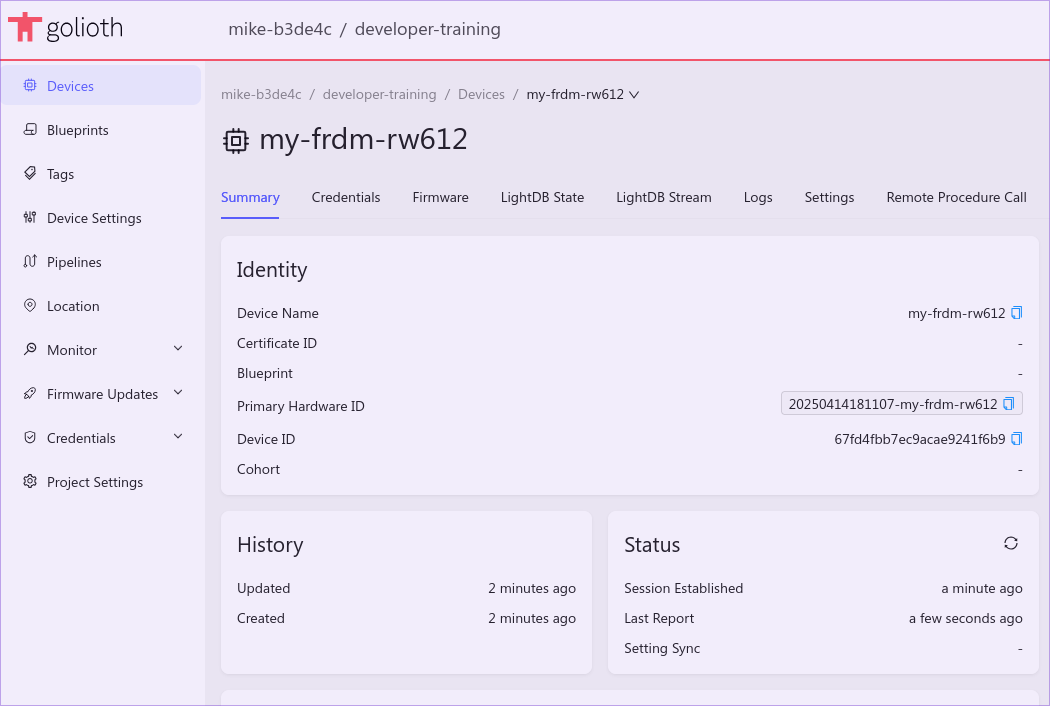
Head over to the Golioth console and choose the project you’d like this device to connect to. Select Devices from the left sidebar and the Create button in the upper right.
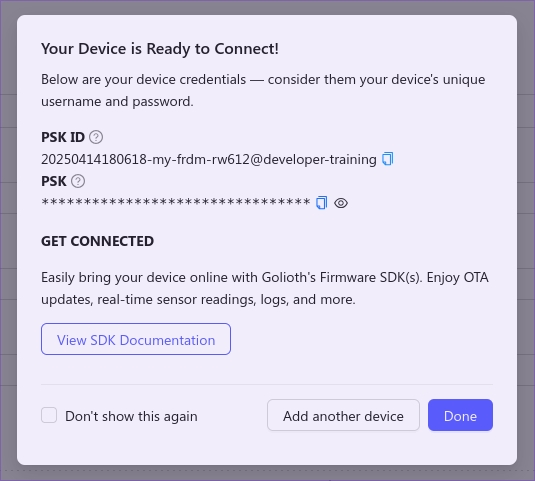
The confirmation screen will show your automatically-generated PSK ID and PSK credentials. Use these inside of your favorite terminal program to provision the device:
settings set golioth/psk-id 20250414181107-my-frdm-rw612@developer-training
settings set golioth/psk 271cb8228ec1b54334a0ebe2a7ec069c
kernel reboot
The device will restart (although running kernel reboot is not strictly necessary), connect to your LAN, and subsequently connect to Golioth!
[00:02:08.481,359] <inf> phy_mc_ksz8081: PHY 2 is up
[00:02:08.481,411] <inf> phy_mc_ksz8081: PHY (2) Link speed 100 Mb, full duplex

[00:02:08.483,296] <inf> eth_nxp_enet_mac: Link is up
*** Booting Zephyr OS build v4.1.0 ***
*** Golioth Firmware SDK v0.17.0-34-g6c1b87827242 ***
[00:02:08.484,509] <inf> golioth_settings_autoload: Initializing settings subsystem
[00:02:08.485,934] <inf> fs_nvs: 8 Sectors of 4096 bytes
[00:02:08.485,956] <inf> fs_nvs: alloc wra: 0, f30
[00:02:08.485,959] <inf> fs_nvs: data wra: 0, 254
[00:02:08.486,009] <inf> golioth_settings_autoload: Loading settings
[00:02:08.486,203] <dbg> hello_zephyr: main: start hello sample
[00:02:08.486,219] <inf> golioth_samples: Starting DHCP to obtain IP address
[00:02:08.486,294] <inf> golioth_samples: Waiting to obtain IP address
[00:02:14.504,941] <inf> net_dhcpv4: Received: 192.168.1.152
[00:02:14.505,345] <inf> golioth_mbox: Mbox created, bufsize: 1232, num_items: 10, item_size: 112
[00:02:14.785,831] <inf> golioth_coap_client_zephyr: Golioth CoAP client connected
[00:02:14.785,917] <inf> hello_zephyr: Sending hello! 0
[00:02:14.785,992] <inf> hello_zephyr: Golioth client connected
[00:02:14.786,140] <inf> golioth_coap_client_zephyr: Entering CoAP I/O loop
[00:02:19.785,984] <inf> hello_zephyr: Sending hello! 1
From Zero to Fleet-Worthy
Golioth’s mission is to make IoT fleets simple to build and manage. Our cross-platform support means that in most cases, Golioth is just ready to use with your project. In this case, the Zephyr support for the new line of NXP chips means that the Golioth cloud is already compatible.
Give us a try, Golioth is free for individuals so you can have your first boards connecting today with no more than a free Golioth account and a bit of configuration!

No comments yet! Start the discussion at forum.golioth.io