How to Manually Connect to Golioth with the ESP-IDF
Golioth has great support for ESP32 devices. While our official SDK is built on the Zephyr RTOS, and we understand that there are some use cases where you might need to use the ESP-IDF instead.
The good news is that Golioth uses the CoAP protocol. So anything that can authenticate with Golioth and communicate over CoAP can be use with our platform. The ESP-IDF includes some CoAP examples, and allows pre-shared keys to be used for authentication, which means it will work with Golioth.
In this article, I’ll show you how to use VS Code to develop an embedded application that will connect to the Golioth Platform using the ESP-IDF instead of Zephyr. Let’s dive in.
Requirements

To follow this tutorial, you first need to have
- A Golioth account
- A Golioth project with at least one device
- PSK-ID and PSK of your device
- Visual Studio Code (VS Code) pre-installed
If you followed the Golioth Getting Started guide, you have already satisfied the first three requirements and will just need to install VS Code.
Install the ESP-IDF in VS Code
The ESP-IDF can be installed from VS Code. I suggest following this quick tutorial to install the ESP-IDF extension for VS Code, even if you already have manually installed it. We’ll only use the Graphical Interface provided by the extension in this tutorial.
Create a coap-client project from the ESP-IDF examples
Open the VS Code command pallet (ctrl+shift+p) and search for “ESP-IDF: New Project“
In the New Project window, enter:
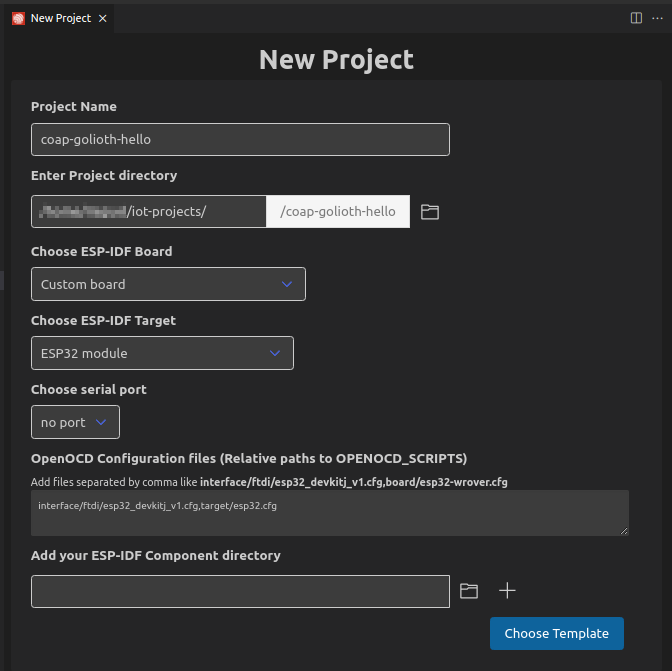
- project name: coap-golioth-hello
- project location: <path-to-your-project>/
- ESP-IDF board: custom board
- ESP-IDF Target: Esp32 module
- Serial Port: choose the serial port that your device is connected (in my case, /dev/ttyUSB0)
Click on “Choose Template” button, then click in the selection box and select “ESP-IDF” option
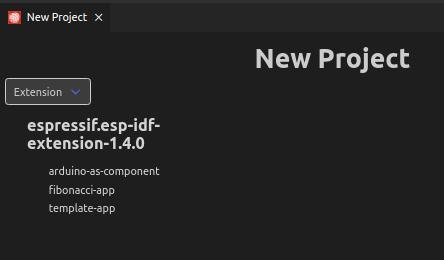
Next, a new windows will be open with ESP-IDF samples.

Scroll down and go to Protocol section and select coap_client sample option. Then click on “Create project using template coap_client”.
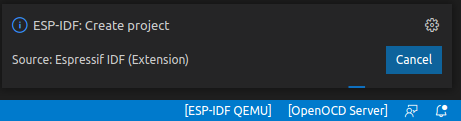
A status will appear at the bottom right corner showing the progress.
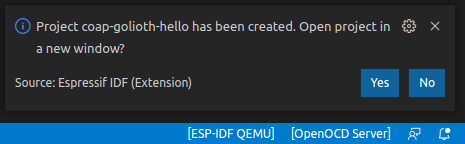
When finished, a new window will appear on the bottom right asking if you want to open the recently created project in a new window. Click Yes.

After you create the Project and open it in VS Code, you’ll see the project structured as shown above.
Set up the Golioth platform as the CoAP destination
You will not need to change the the sample code contained in the main folder to make this tutorial work. The only change needed is to create a configuration file and set some variables.
To create the complete config file, we’ll use the menuconfig tool that the ESP-IDF extension makes available for us. Click the gear button in the VS Code bottom tool bar: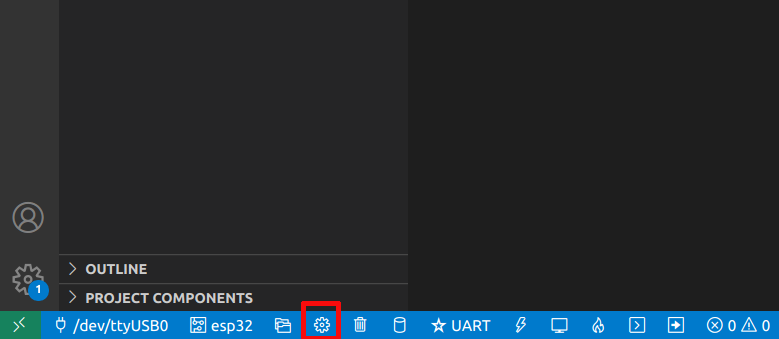
A new SDK Configuration Editor window will open:

We will set some configs in this windows.
First, at the left menu bar, click the Example CoAP Client Configuration:
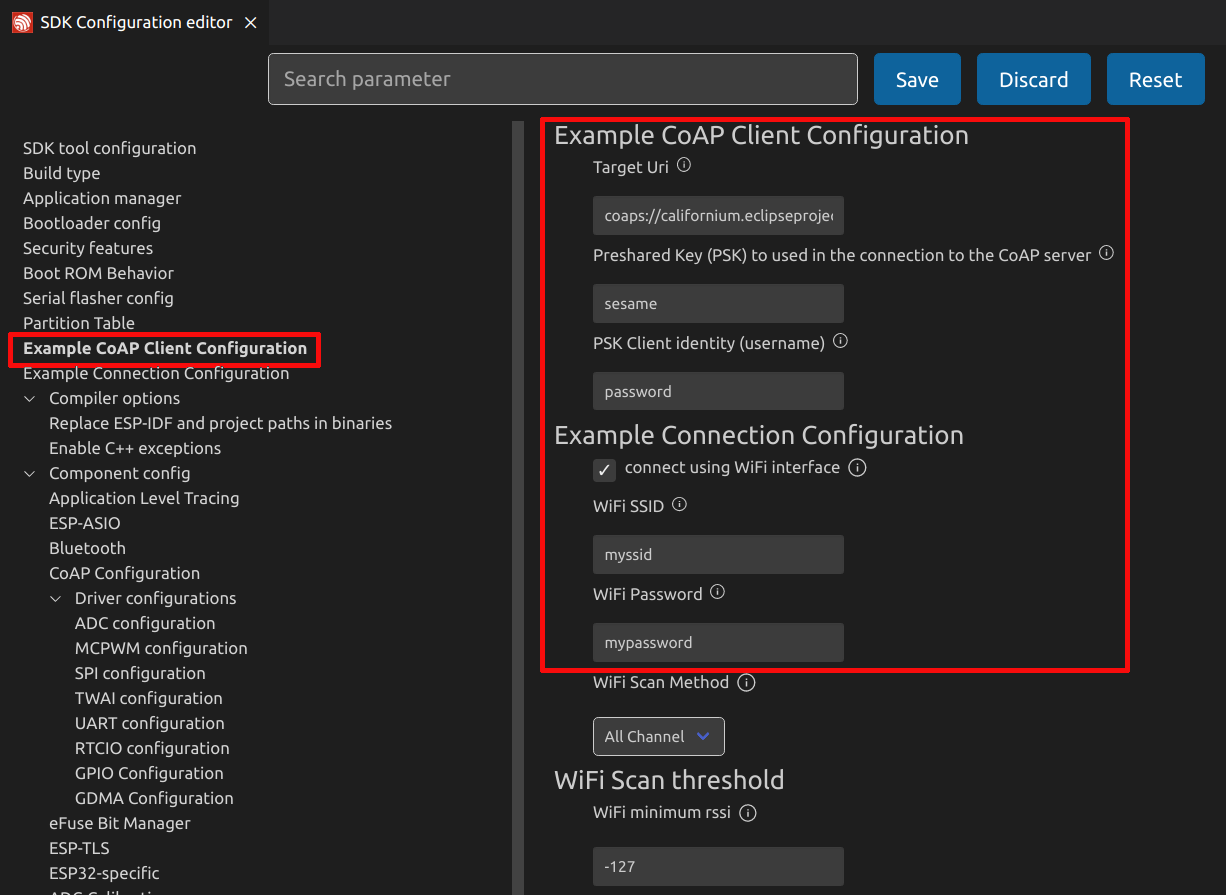
Next, set the following values:
- Target Uri to coaps://coap.golioth.net/hello
- Preshared Key (PSK) to the PSK of your device which you’ll find in the Golioth Console
- PSK Client Identity to the PSK-ID of your device which you’ll find in the Golioth Console
- WiFi SSID and WiFi Password to the name and password of your WiFi network
There’s one last setting needed before saving your configuration. In the left menu bar, go to CoAP configuration and set the CoAP Encryption method to Pre-Shared Keys.
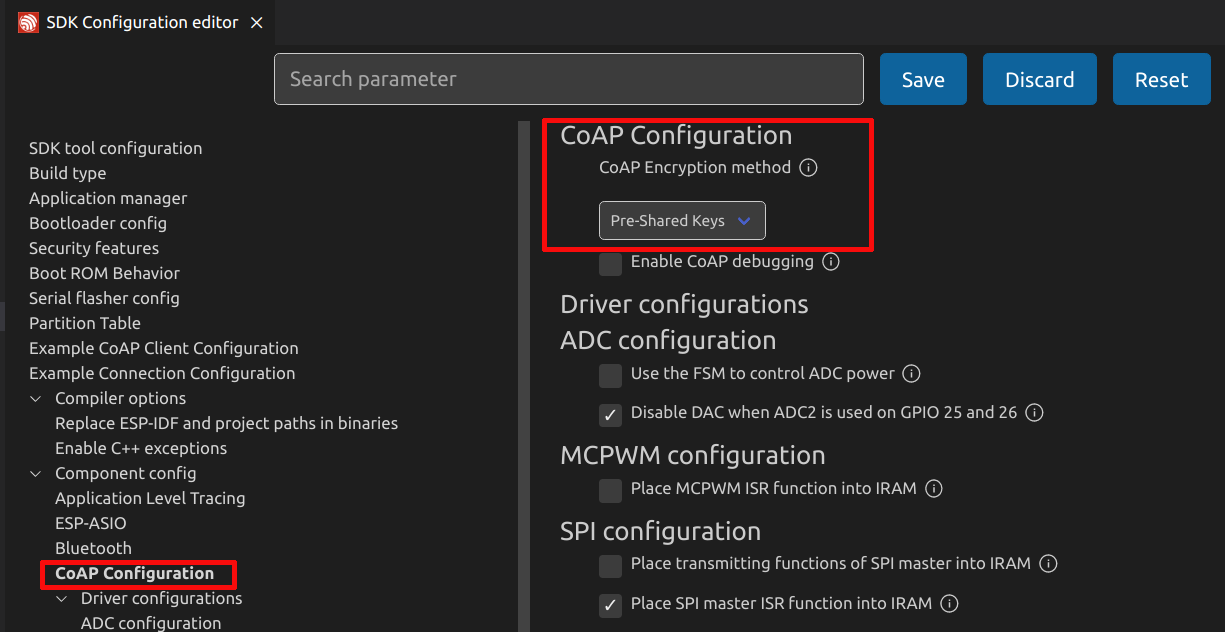
Finally, click save.
When your configuration is saved, the ESP-IDF extension will make some changes in your structure. It creates an sdkconfig.old file that contains the previous config before saving the new one, and also a new sdkconfig file that contains all the new configuration variables.
At this point, our tutorial is ready to be built and flashed to the device. If you check the Golioth Console before you first run the example, you’ll notice the device is reported as offline. If we did everything right, that’s about to change!
Run the CoAP example on ESP32
To build the firmware, click the cylinder button at the bottom tool bar and wait for the build process finish:

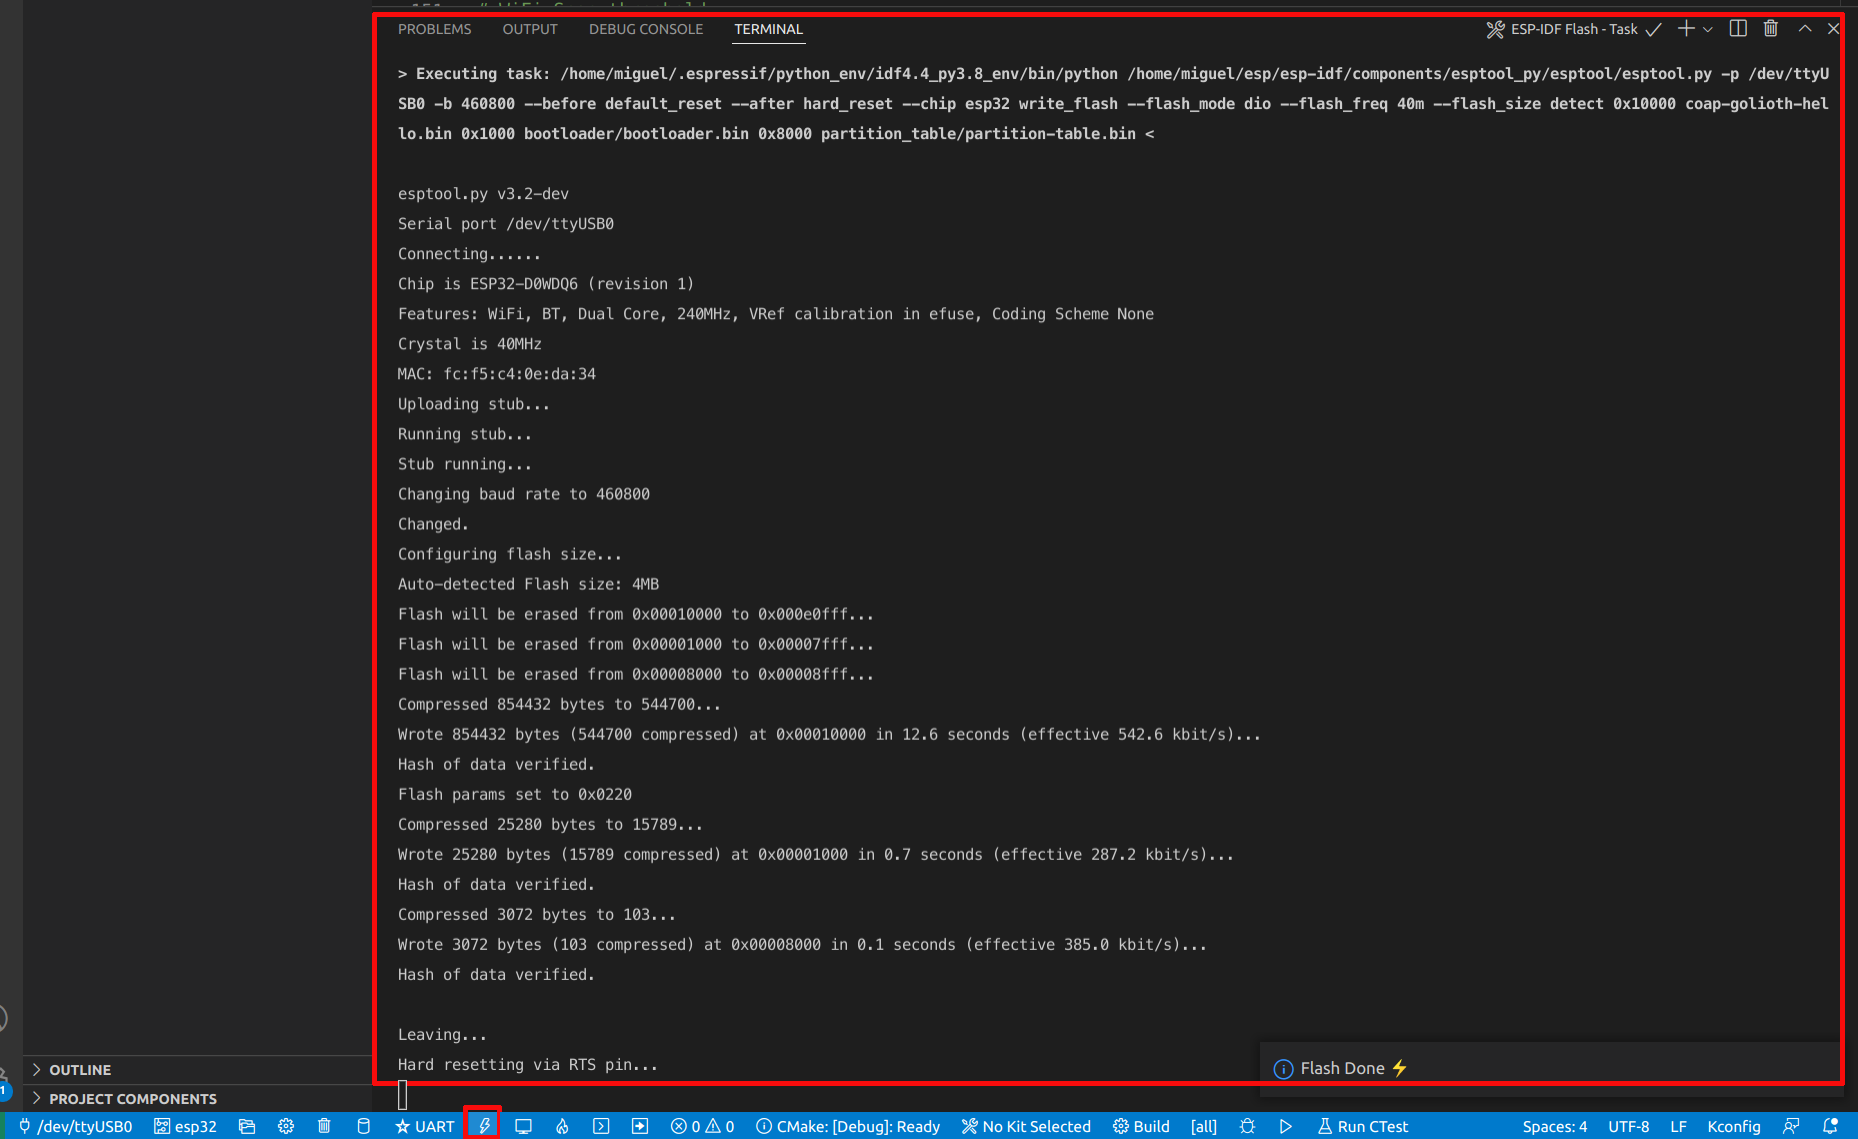
After the build finishes, ensure your device is connected to the USB port, click the flash button and, again, wait for the process to finish:
At this point, you have the firmware running on your device. But how can we see if it’s running properly? Just click the monitor button, and you’ll start to see all the logs coming from your device through the serial port:
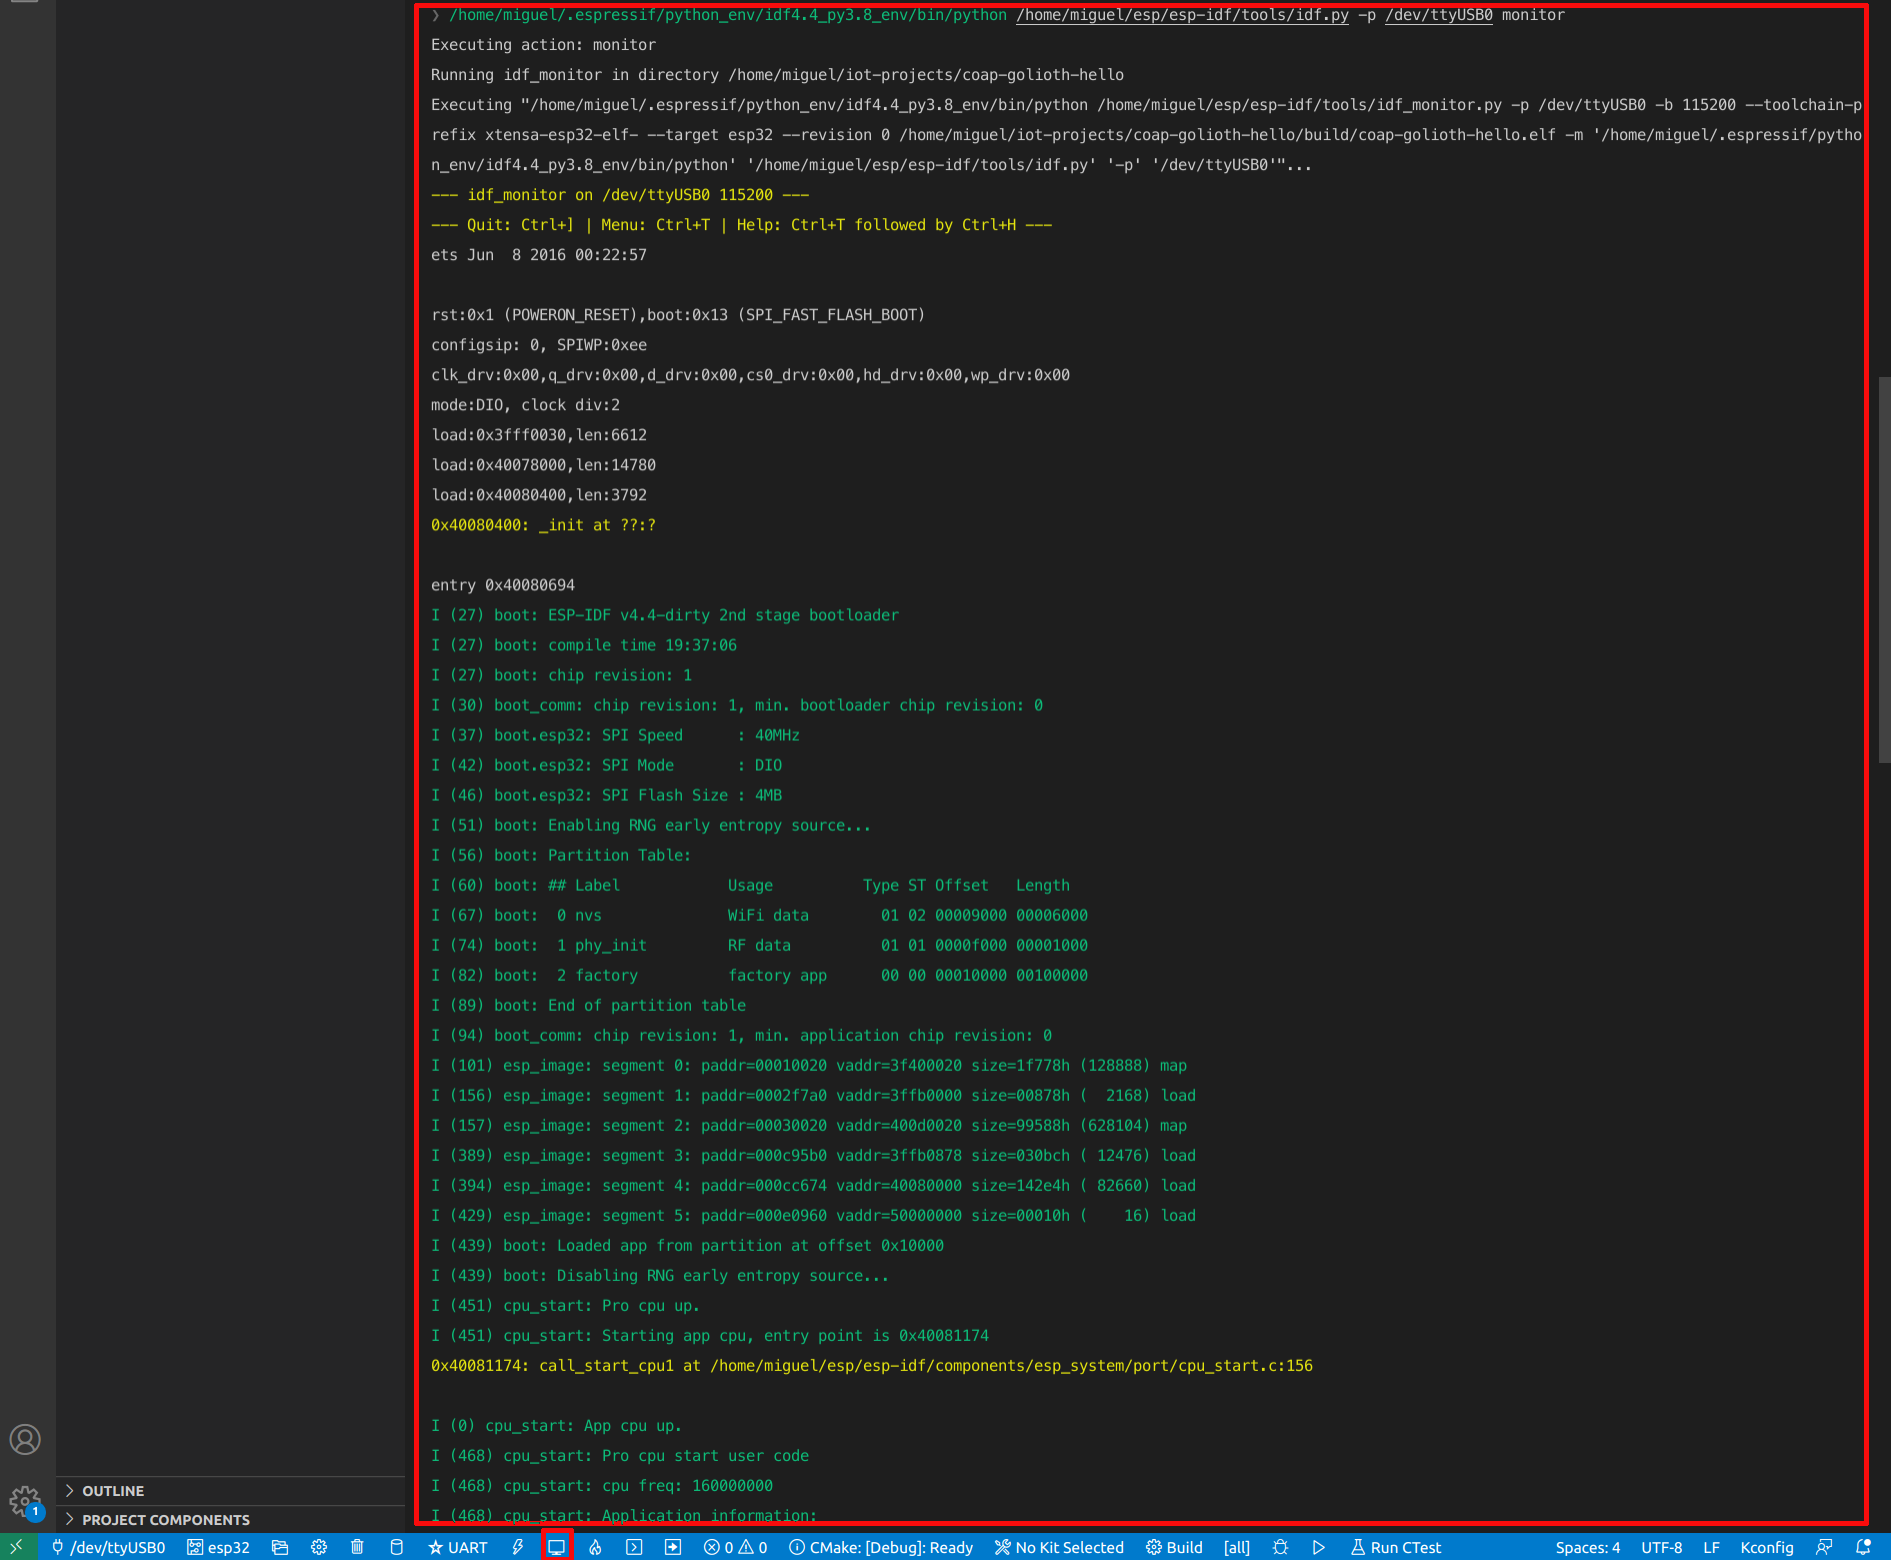
Above, you see some logs generated when the device is booting which includes some interesting information about the device.
Below, you can see logs related to the Golioth communication itself. As we set our Target Uri to coap.golioth.io/hello, this endpoint sends back a hello message every time the device connects to it:
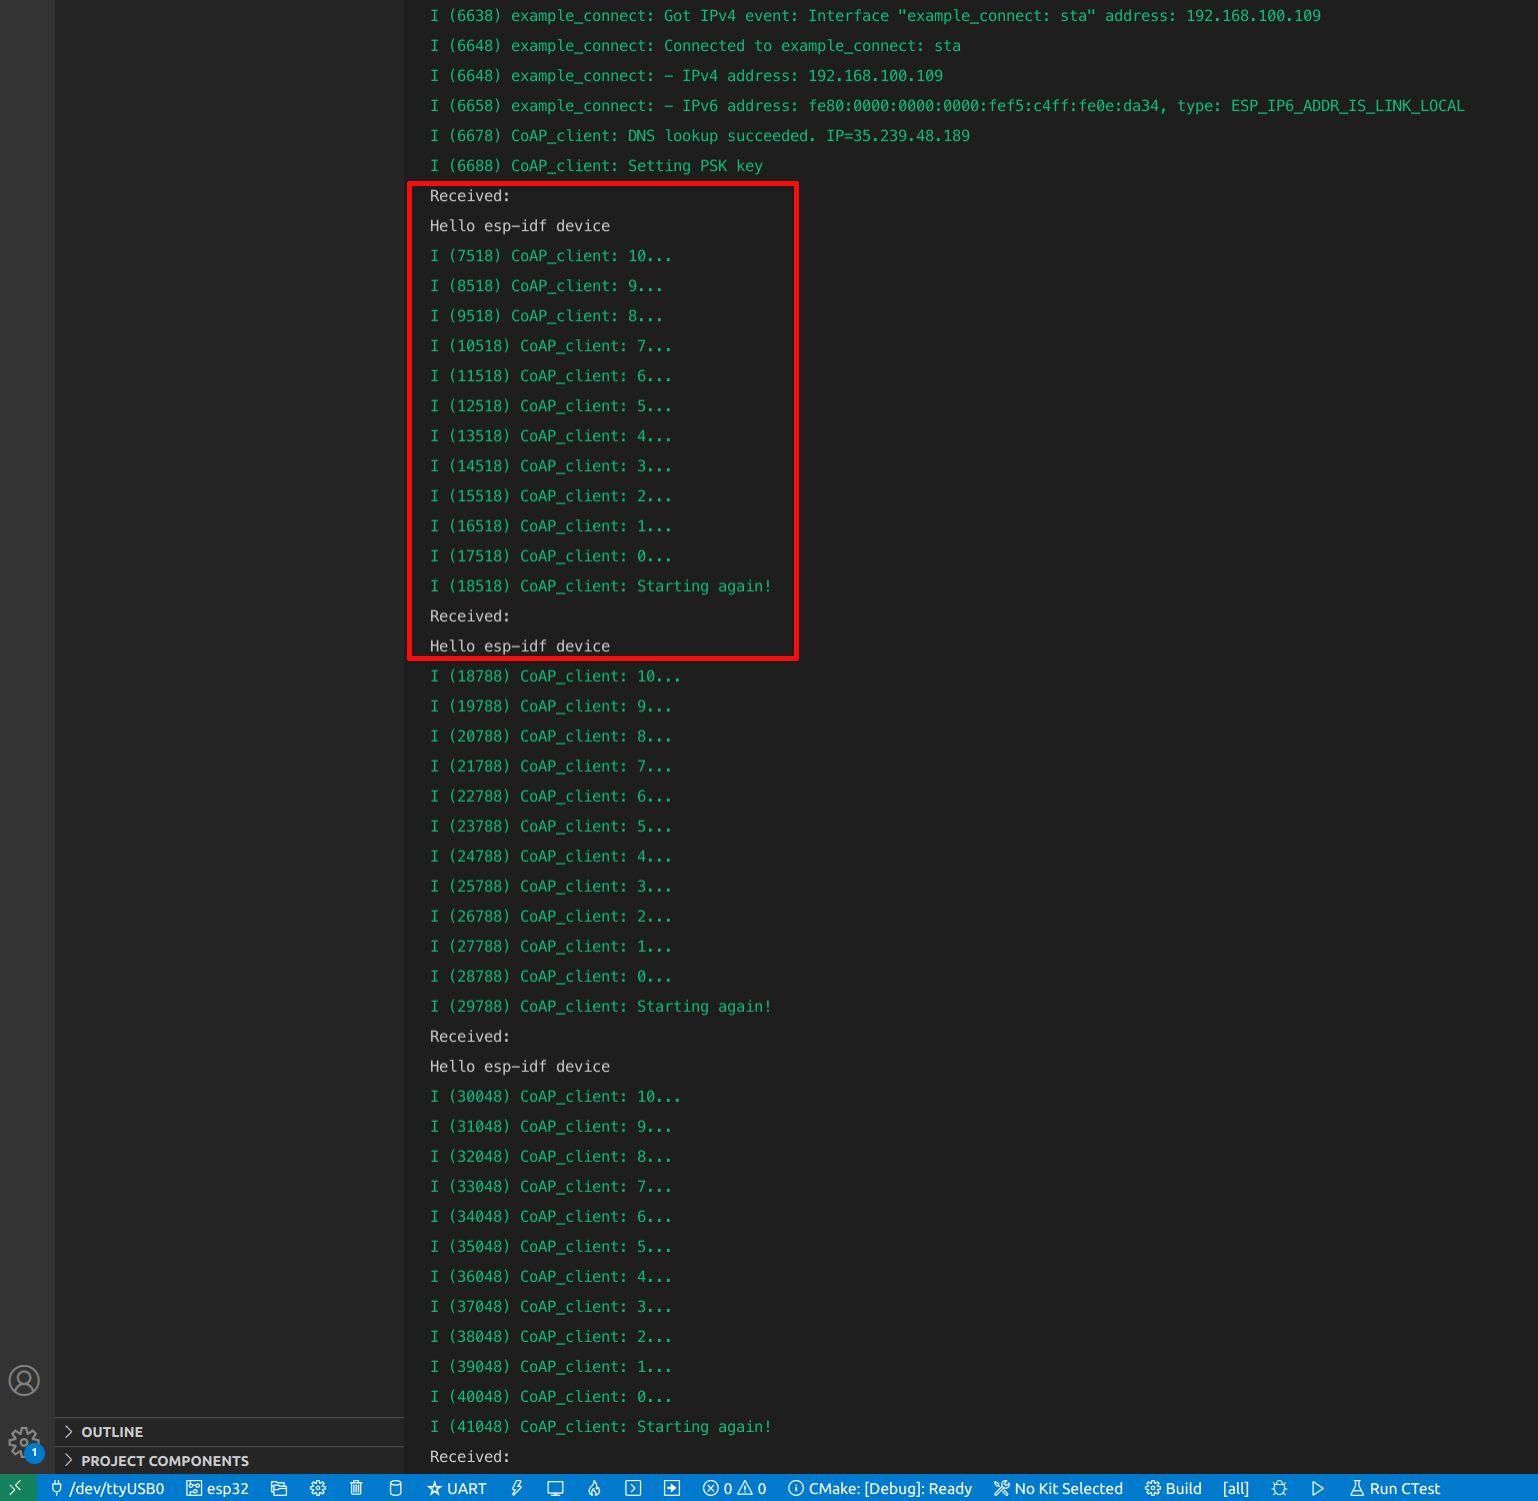
So, from the device perspective, you can see that it managed to connect to the Golioth, right?
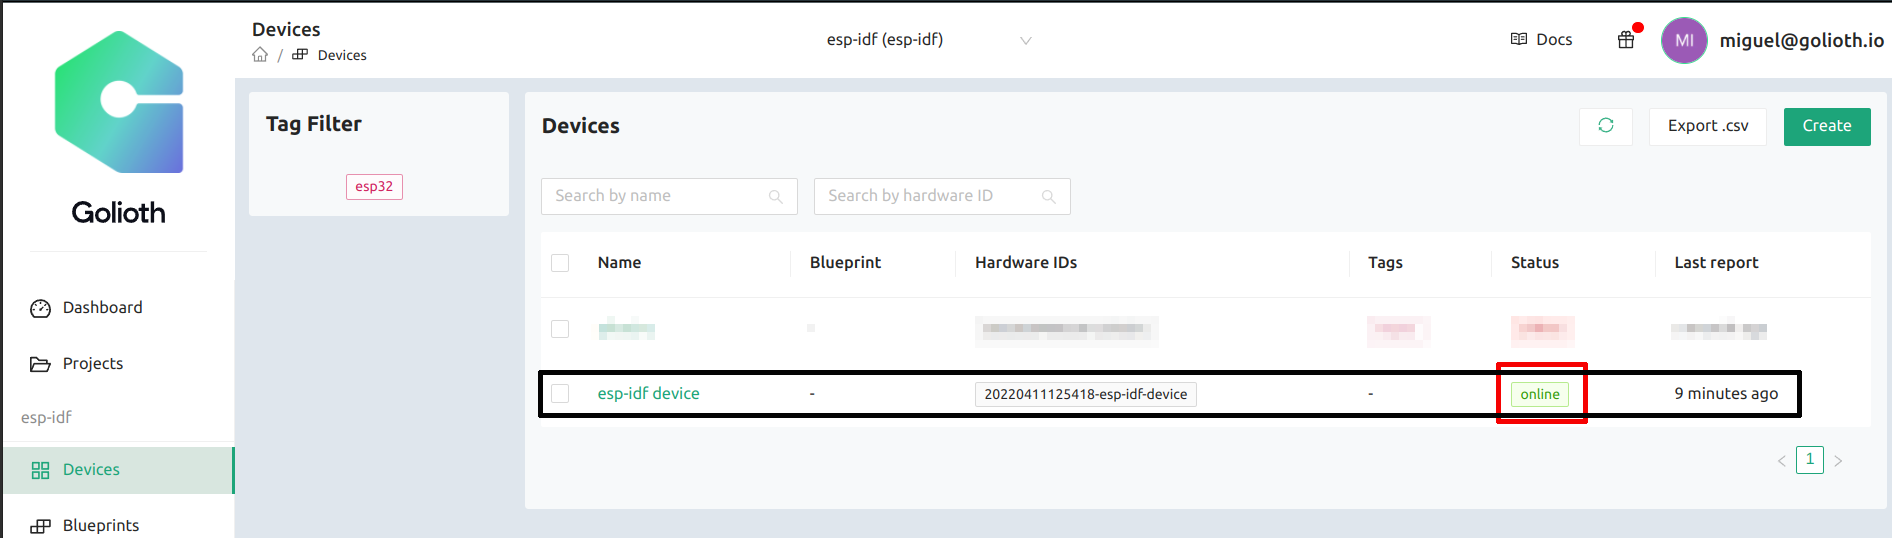
But let’s see from the Golioth Console perspective. Go to the Device section in the console and you will see the device is now reported as online:
Conclusion
At this point we can see that connecting a device to the Golioth using the Espressif ESP-IDF and the CoAP protocol is not hard. This post serves as a “Hello World!” to get the connection up and running. Now that you’ve done that, you can easily transfer data between your ESP32 and Golioth.
Espressif has included a lot of examples with their VS Code extension that will help you better understand how to use it and are worth further study. In my next tutorial I’ll continue using the CoAP protocol but this time we’ll see how to send a LightDB Stream package, which includes time-series data perfect for visualizing the information being collected by your devices.


